What you need
- An iPhone clip with real camera movement. Any recent iPhone works; I used the main camera.
- Blender. The built-in Motion Tracking workspace is free and works on every platform.
- Optional: MotionMaster 3D for the automatic route. It runs on Windows with Blender 5.1 or newer, and an NVIDIA GPU is recommended for speed.
Step 1: Film a shot the solver can use
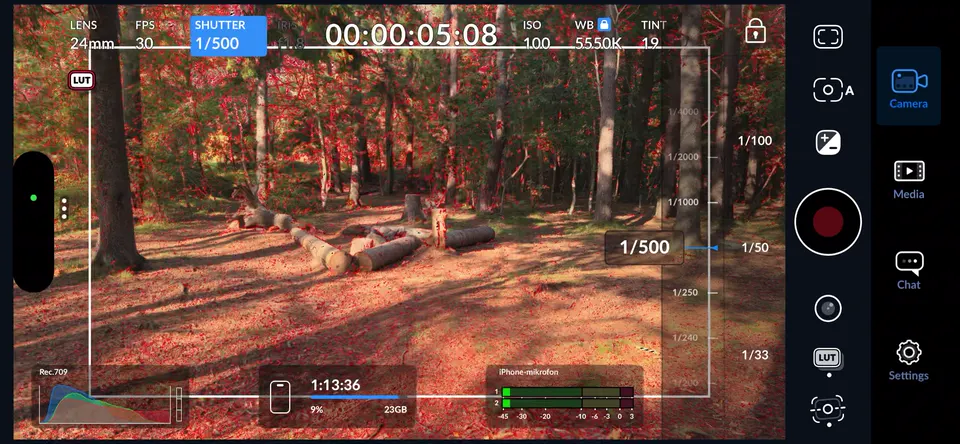
Most failed solves are decided at this step. The short version: set a fast shutter (around 1/250 s for walking shots), lock exposure, focus and white balance, stay on one lens, and physically move the camera through the scene instead of panning from one spot. The free Blackmagic Camera app gives you all of those controls on an iPhone.
The full list of settings and camera moves is in how to shoot footage for camera tracking, and the reasons behind them are in what makes footage good for camera tracking.
Step 2: Get the original file off the phone
Copy the clip over USB, AirDrop or the Files app. Do not send it through messaging apps or upload it somewhere and download it again; those recompress the video and throw away detail the tracker needs.
Step 3: Make an image sequence tracking copy
Trackers are more reliable with an image sequence than with a compressed video file: every frame is decoded once, the frame count is exact, and you can scrub without seeking problems. For speed, make the tracking copy smaller. A 1080p copy of 4K footage has a quarter of the pixels, tracks much faster and fits in memory for smooth playback.
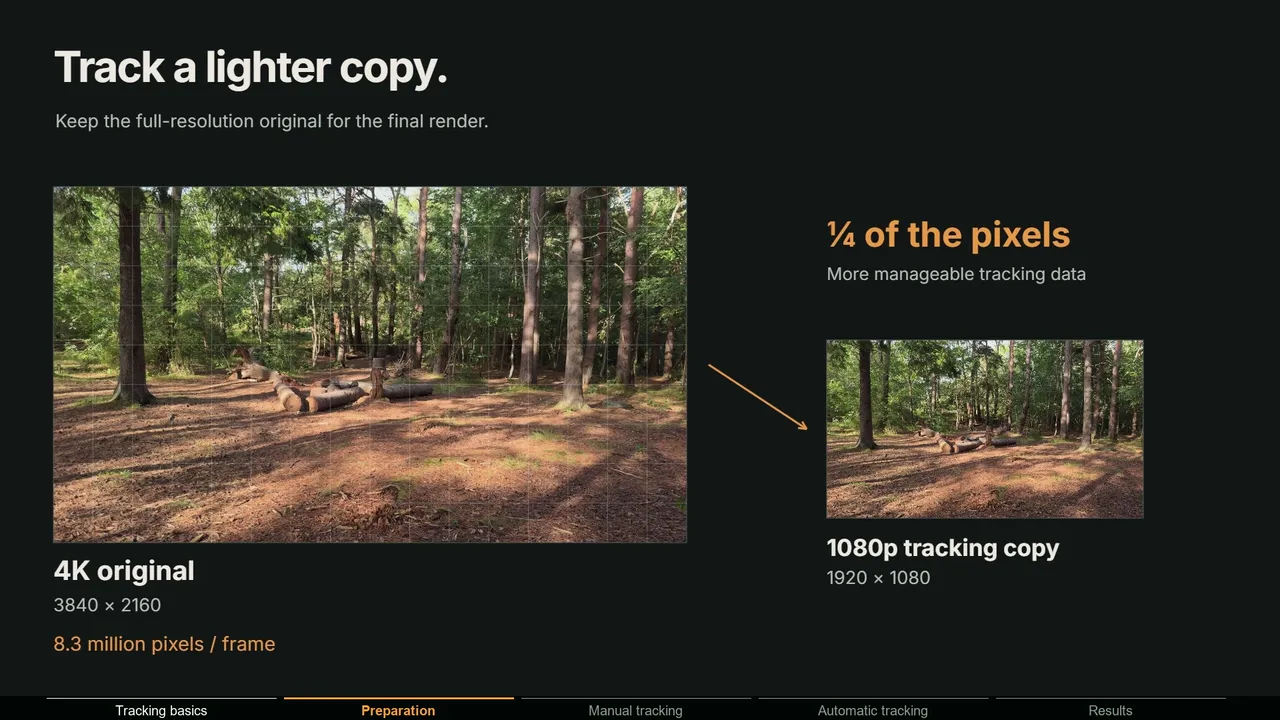
In Blender you can render the clip out as a PNG sequence from the Video Sequencer. In MotionMaster 3D, Select Footage converts the video to a numbered image sequence and downscales it in one step, while leaving the original file untouched. If you recorded in log, also grade the tracking copy so features have contrast.
Step 4a: Track it with Blender's built-in tracker
Blender's Movie Clip Editor has a complete manual tracking workflow. It is free and teaches you how tracking works, but expect to spend time on it:
- 1 Load the sequence
Open the Motion Tracking workspace, open the first image of the sequence, click Set Scene Frames, then prefetch (P) so playback is smooth.
- 2 Enter the camera data
In the Track tab, set sensor width and focal length. If you do not know the real sensor size, a common shortcut is a 36 mm sensor width with the phone's full-frame equivalent focal length, then let Blender refine the focal length later.
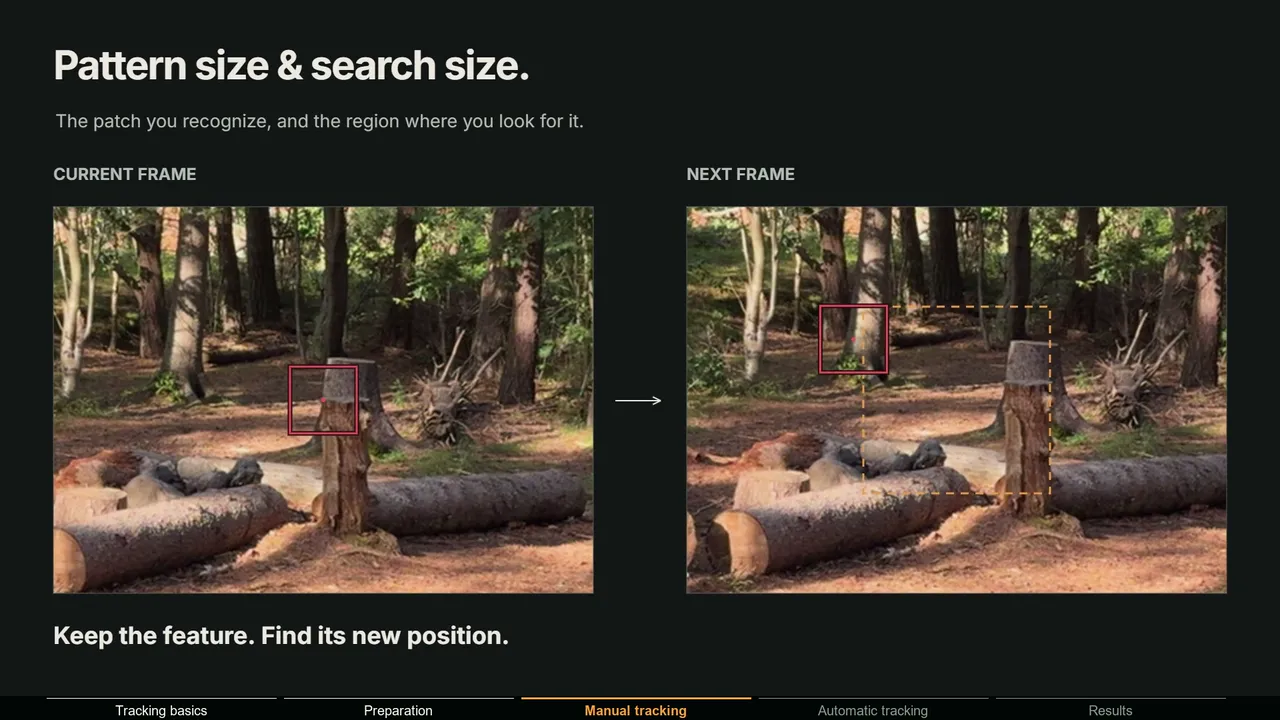
- 3 Set pattern and search size
The pattern is the small feature the tracker recognizes; the search area is how far it looks for it in the next frame. Fast moves need a larger search area.
- 4 Place and track markers
Use Detect Features or Ctrl+click to add markers on high-contrast corners spread over the frame and at different depths, then track forward and backward.
- 5 Clean up
Delete tracks that slide, jump or sit on moving objects. You need at least 8 tracks that are shared by both solve keyframes.
- 6 Solve
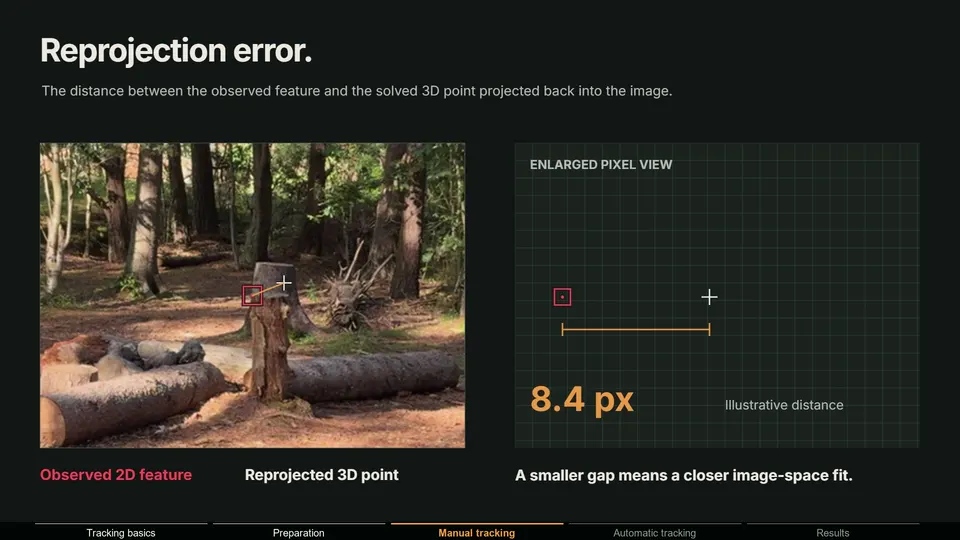
Click Solve Camera Motion and read the solve error in the header. Refine focal length and radial distortion if the camera data was only approximate, then solve again.
The repetitive part is the loop at the end: find bad tracks, delete them, add better ones, solve again, check whether it got better. On difficult footage it can take hours. If the error stays high, work through the solve error fixes.
Step 4b: Track it automatically with MotionMaster 3D
This is the workflow I built MotionMaster 3D for. Instead of placing and cleaning tracks by hand, Heavy Tracking extracts and matches features across the whole sequence with a COLMAP and GLOMAP based pipeline, verifies them geometrically and solves the camera on its own:
- 1 Select the image sequence
Point Select Footage at the tracking copy you made in step 3.
- 2 Open Heavy Tracking and pick a preset
The recommended default preset handles clean footage like this clip. Choose a heavier preset when the shot has motion blur, hard light or few features.
- 3 Set the shot-specific options
Enable Variable Focal Length (Zoom) if the clip zooms, and add a mask if people or cars move through the frame.
- 4 Start the automatic track
Watch the Progress panel while it runs. Blender stays usable, and Max users can cancel a running job and keep the partial output.
- 5 Import the result
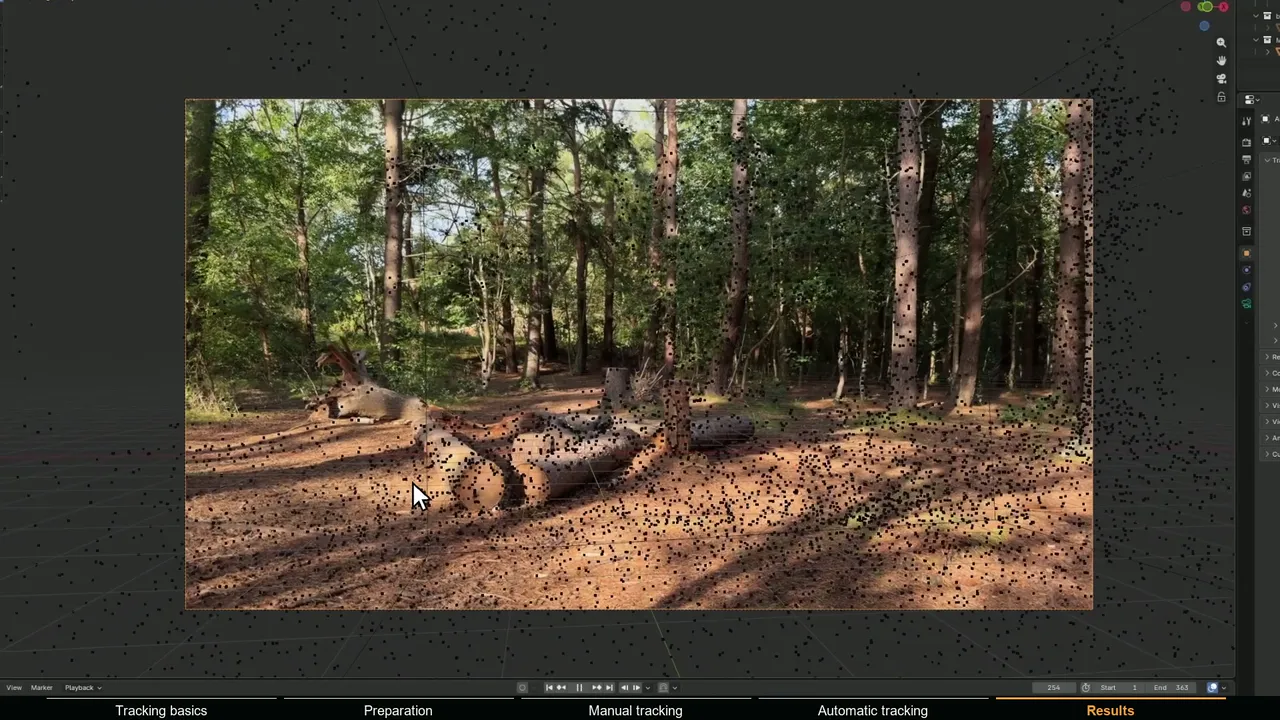
Import the solved camera and point cloud into the scene with Import Results.
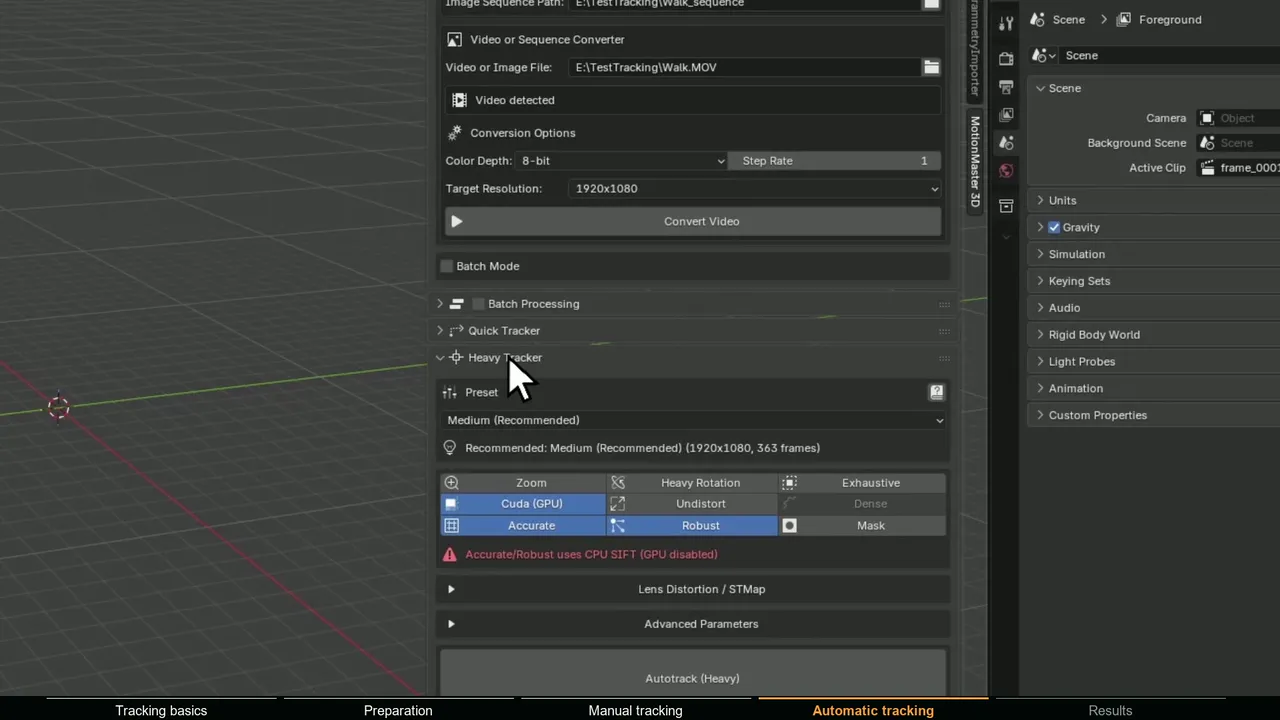
For a fast first look, Quick Tracking solves in real time with a live preview, which is handy to check whether a clip has enough parallax before you commit to the full Heavy run. Quick relies more on correct camera data, so Heavy is the better default for phone footage.
Step 5: Check that the solve is really good
A low solve error is necessary but not enough. Blender's manual describes an error below 0.3 px as accurate and anything above 3 px as needing fixes; for VFX work I aim for under about 1 px. Then check by eye:
- Set the footage as the camera background and scrub the whole shot through the solved camera.
- Add a simple object, like a cube or an empty, on a tracked point on the ground.
- Watch it at the start, middle and end of the shot. It must stay glued to the same spot without sliding or floating.
- Check near and far areas. A solve can be good in one region and drift in another.
Step 6: Align the floor and set the scale
A solve comes out at an arbitrary scale and orientation. Fix that before you place objects, or gravity, lights and simulations will behave strangely.
- In Blender: select three tracks that lie on the ground and use Floor in the Orientation panel, set an origin track, and use Set Scale with two tracks whose real distance you measured on set.
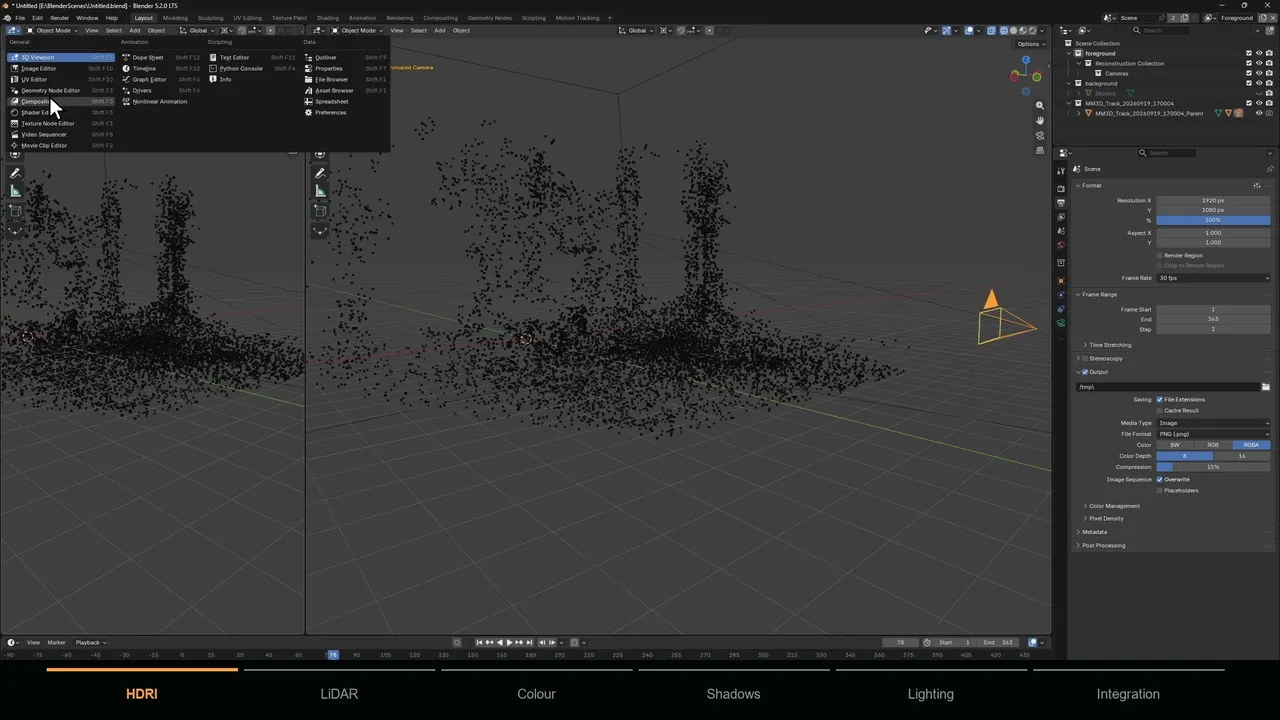
- In MotionMaster 3D: clean stray points with Point Cloud Cleanup, select points on the ground and snap them to the floor with the Aligner. Flip the result if it came out upside down.
Step 7: Add your 3D object
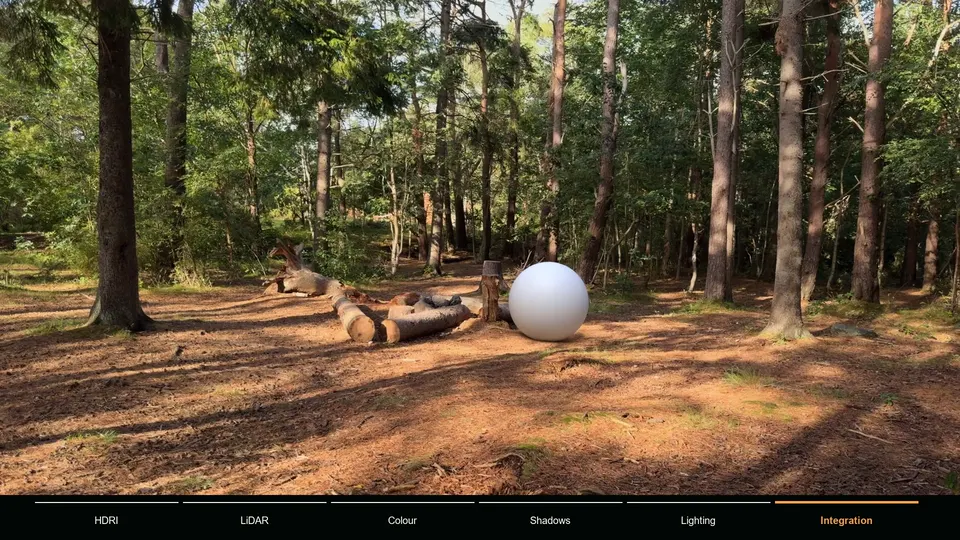
With a stable, aligned camera you can start placing CG. Lighting, shadows and color matching decide whether it looks real, so I wrote a separate guide for that part: how to add 3D objects to tracked footage in Blender.
Common iPhone tracking problems
| Problem | Likely cause | Fix |
|---|---|---|
| Footage looks washed out | HDR (Dolby Vision) recording | Turn off HDR Video or convert to SDR before tracking |
| Image wobbles or warps | Strong digital stabilization or rolling shutter on fast moves | Turn stabilization down, move slower and smoother |
| Tracks smear and die | Slow automatic shutter in shade | Set the shutter manually to 1/100 s or faster |
| Solve slides even with low error | Wrong focal length or tracks only in one region | Refine focal length, add tracks across the frame and depth |
| Solve fails completely | The shot is a pan or a zoom | Use a tripod solver, or enable variable focal length |
| Frame count does not match | Video decoded differently by different apps | Track an image sequence instead of the video file |