What makes a CG object look like it belongs
When a 3D object looks pasted on, it is almost always one of four things: the camera does not match, the light does not match, the object has no contact with the ground, or the colors do not match. The camera track solves the first one. The rest of this guide handles the other three.
| Ingredient | What it does | How |
|---|---|---|
| Camera | The object moves correctly with the shot | A solved, aligned camera track |
| Light and reflections | The object is lit by the same environment | HDRI from the location as world lighting |
| Contact | The object casts shadows onto real surfaces | Scan or reconstruction as a shadow catcher |
| Direction and softness | Shadows match the ones in the footage | A sun lamp with matched angle |
| Color | Render and plate share the same look | Adjust the environment and materials against the footage |
Step 1: Start from a stable camera track
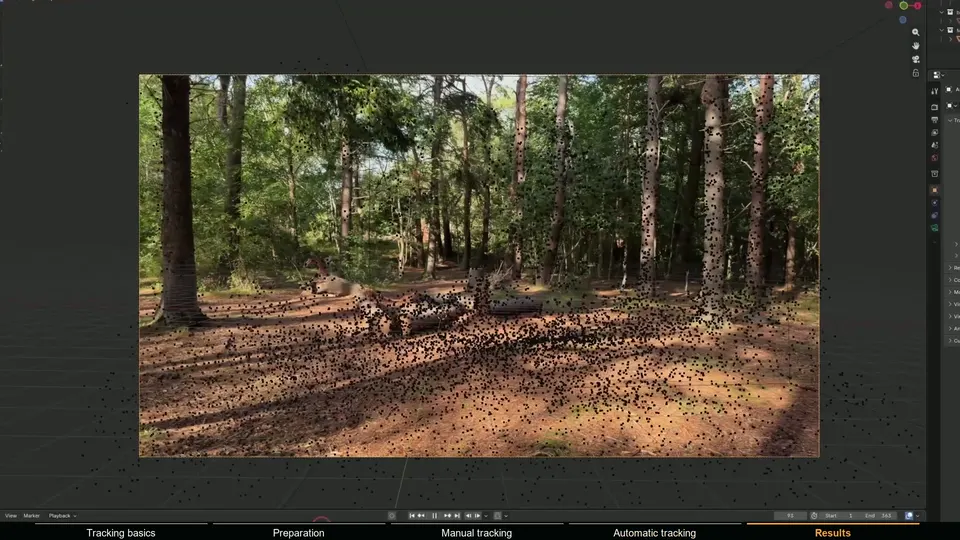
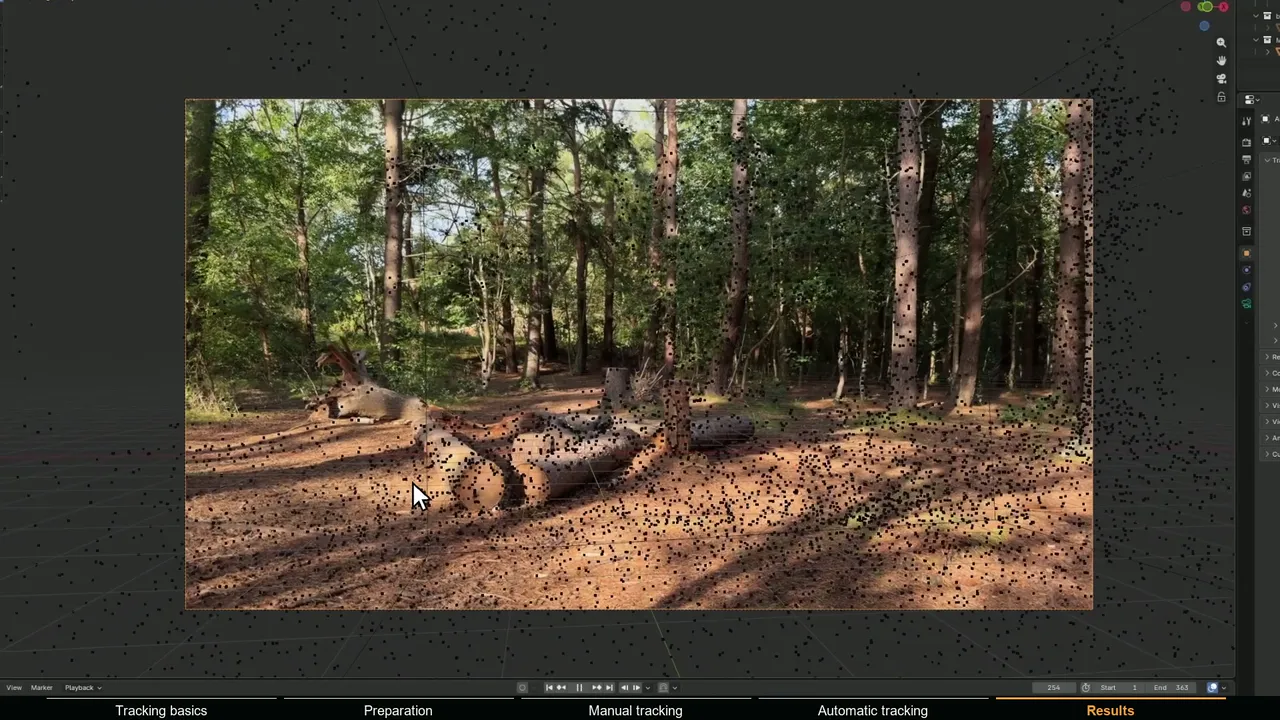
Before any lighting work, check the solve. Scrub the shot through the solved camera with the footage as background and make sure a test object on the ground stays locked. Set the floor, origin and scale so that the ground of the footage sits on Blender's ground plane. If you still need a solve, see how to camera track iPhone footage in Blender.
Step 2: Light the scene with an HDRI from the location
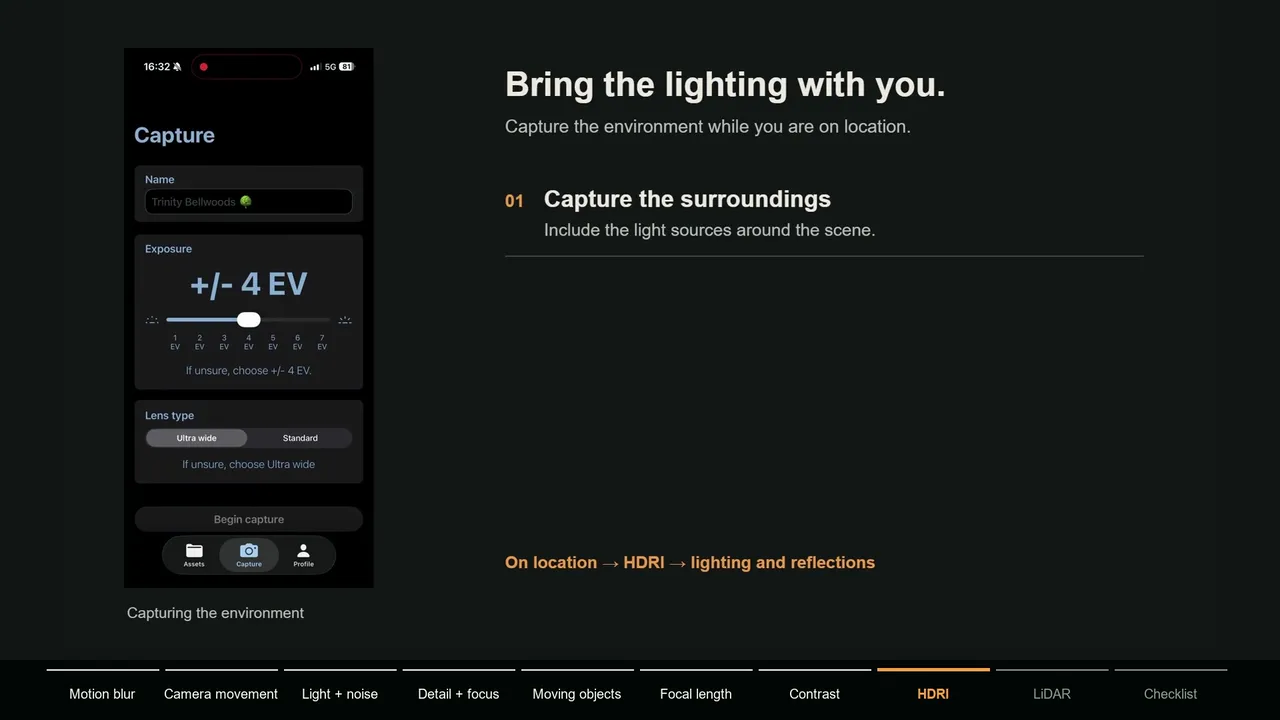
An HDRI captured where you filmed contains the real sky, the real sun position and the colors bouncing off the surroundings. Used as world lighting, it lights and reflects your object the way the real location would. You can capture one with a 360 camera or a phone app made for HDRI capture.
- 1 Add the HDRI to the world
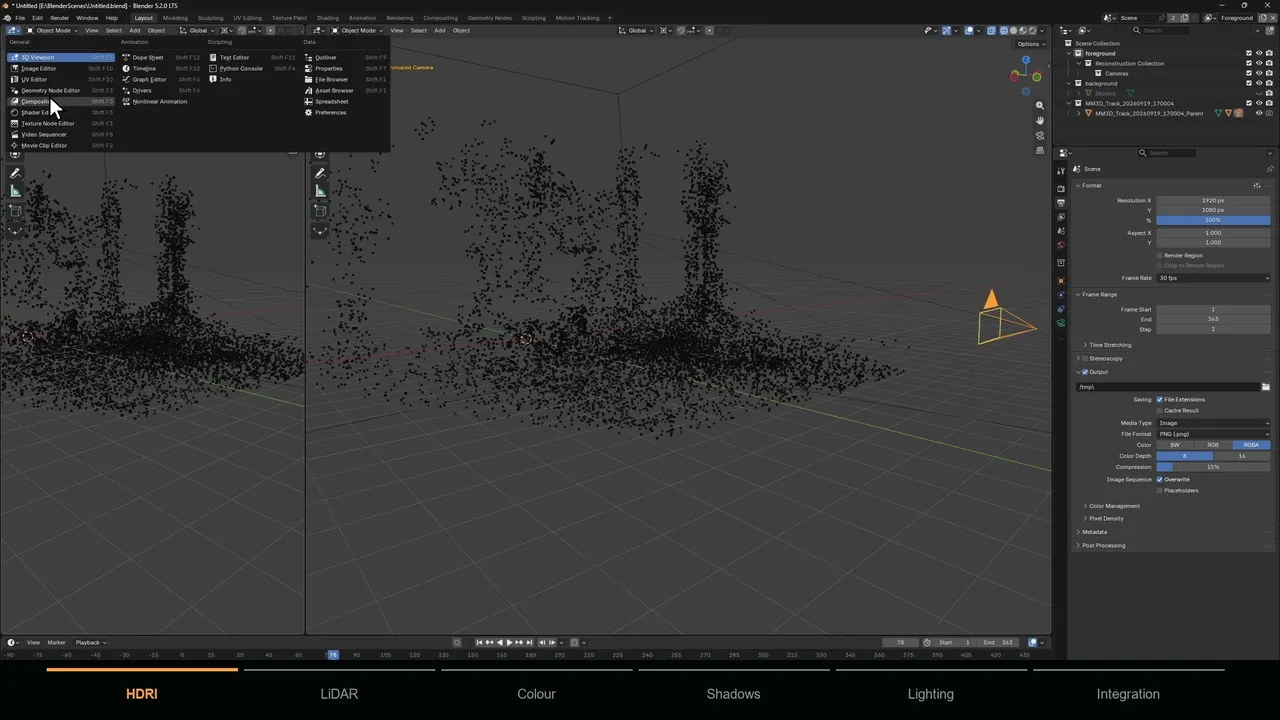
In the Shader Editor, switch from Object to World, add an Environment Texture node and load the image. Connect it through the Background node to the World Output.
- 2 Make it rotatable
Add a Texture Coordinate node and a Mapping node in front of the Environment Texture. The Mapping node's Z rotation turns the environment.
- 3 Hide it from the camera
In Render Properties, enable Film, Transparent. The environment still lights and reflects the scene but is not rendered as a background, so the footage can sit behind your render.
- 4 Line it up with the footage
Turn transparency off for a moment, and rotate the Mapping node until recognizable features, like a tree or the sun, line up with the footage. Then hide the background again.
Step 3: Give Blender real geometry near the effect
An HDRI is only an image. Blender can see the picture of a tree in it, but it has no idea that the tree stands right next to your object, or where the ground is. For shadows, reflections and contact you need actual geometry near the effect.
The fastest way is a LiDAR scan from a phone. I scanned the area around the logs with Polycam on an iPhone, exported it and imported it into Blender as FBX.
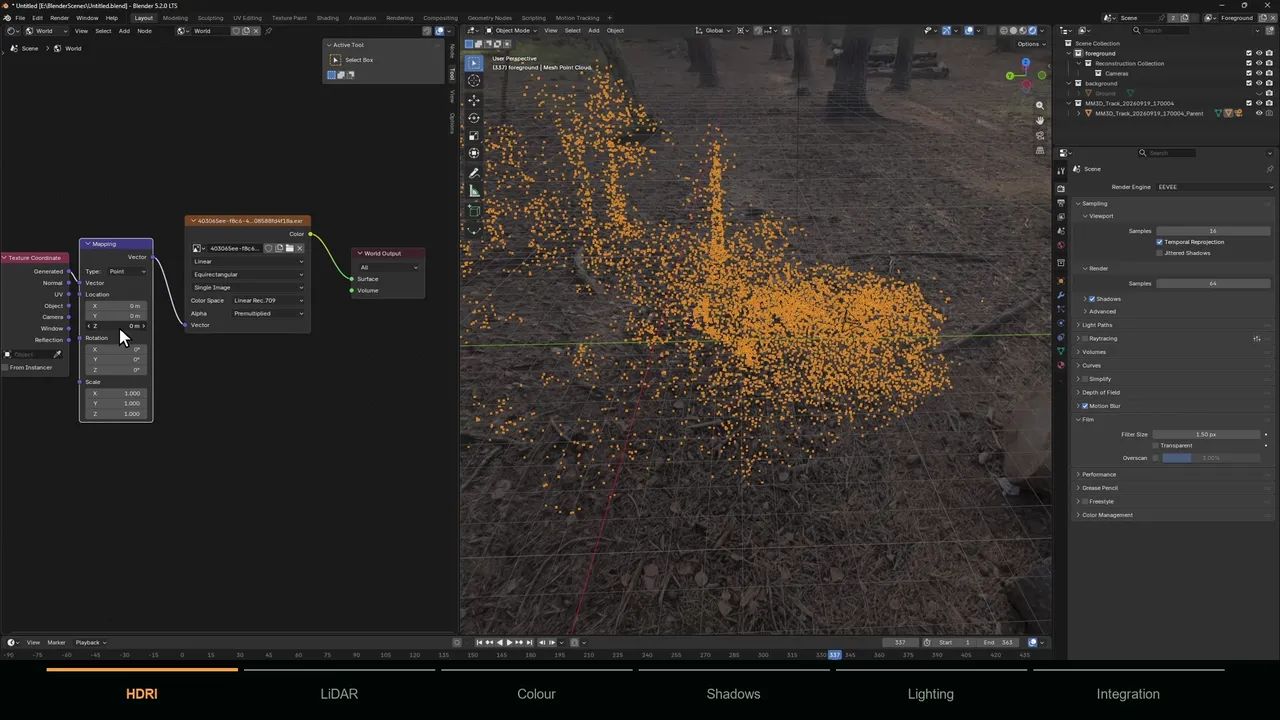
The scan comes in at its own position, rotation and scale, so it has to be aligned to the camera solve. Use the reconstructed tracking points as references: line up recognizable points such as a tree trunk first, then adjust position, rotation and scale until the scan matches the footage through the tracked camera.
Step 4: Test the lighting with a sphere in Cycles
Before adding your real object, add a plain sphere and look at it in rendered view in Cycles. A neutral sphere shows the light direction, brightness and color more honestly than a detailed model.
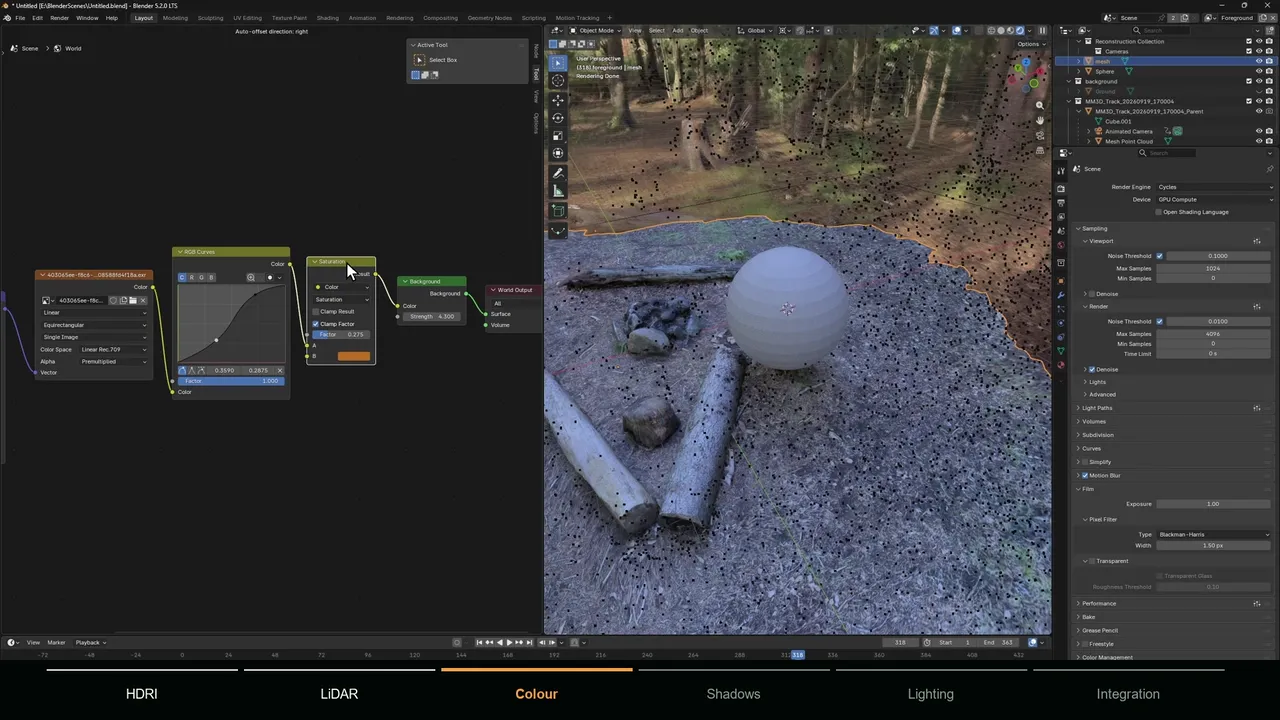
Back in the world shader, add RGB Curves and a Hue Saturation Value node after the Environment Texture to adjust the HDRI, and use the Background node's strength to control how much light it contributes. Judge everything against the footage behind it; there is no correct number, only a correct match.
Step 5: Match the scan's material to the real ground
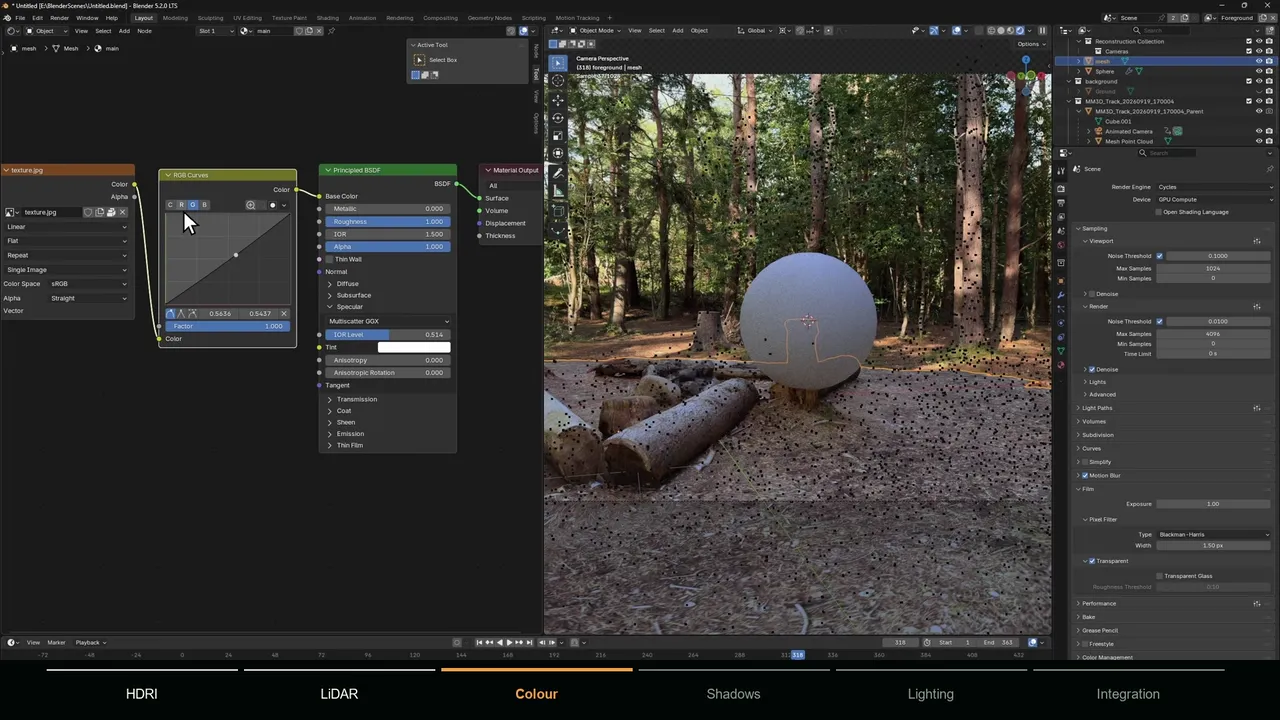
The scan's own texture rarely matches the footage exactly. Adjust its material so the ground under your object reacts to light like the real ground. In my shot the scan looked too blue, so I pulled blue down and red up, and lowered the specular level because the forest floor was rendering too shiny.
Step 6: Turn the scan into a shadow catcher
You want the real ground from the footage in the final shot, not the scan. But you still want your object to cast a shadow onto it. That is exactly what a shadow catcher does: select the scan, open Object Properties, Visibility, and enable Shadow Catcher. The scan becomes invisible in the render except for the shadows and light that fall on it.
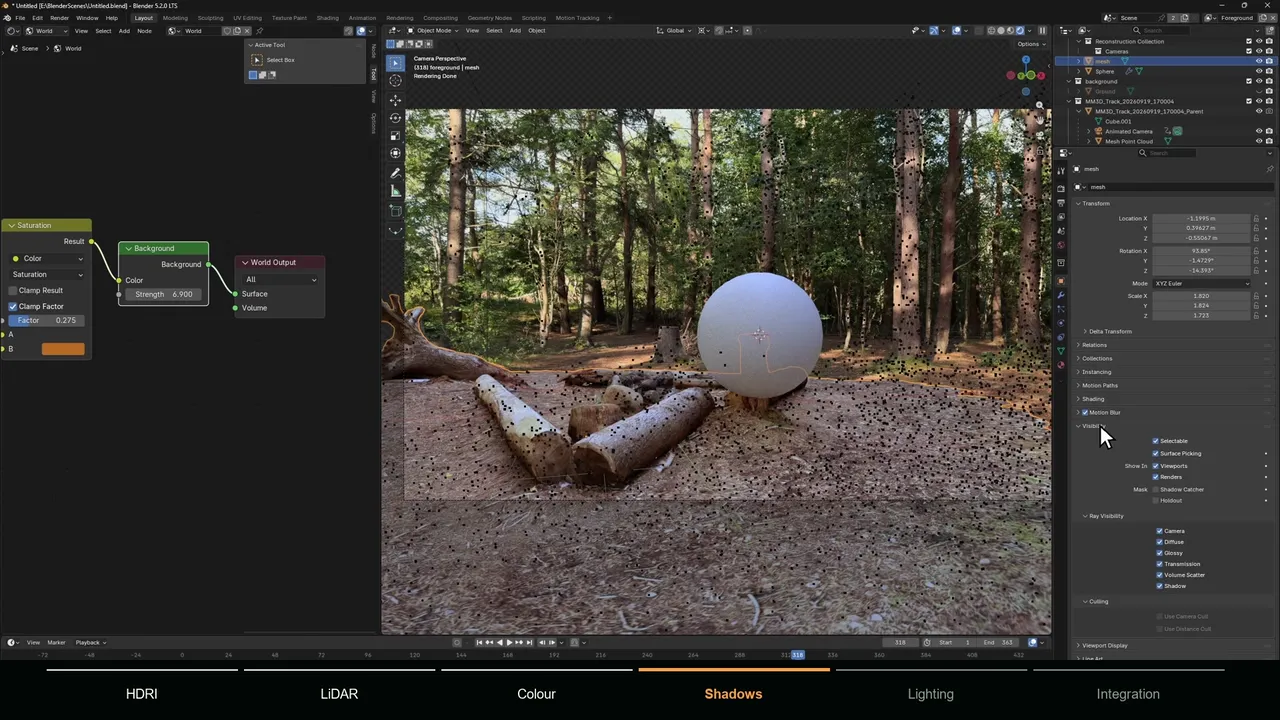
Shadow Catcher is a Cycles feature. Combined with the transparent film from step 2, your render contains the object plus its shadow on a transparent background, ready to composite over the footage.
Step 7: Add a sun and match the shadows
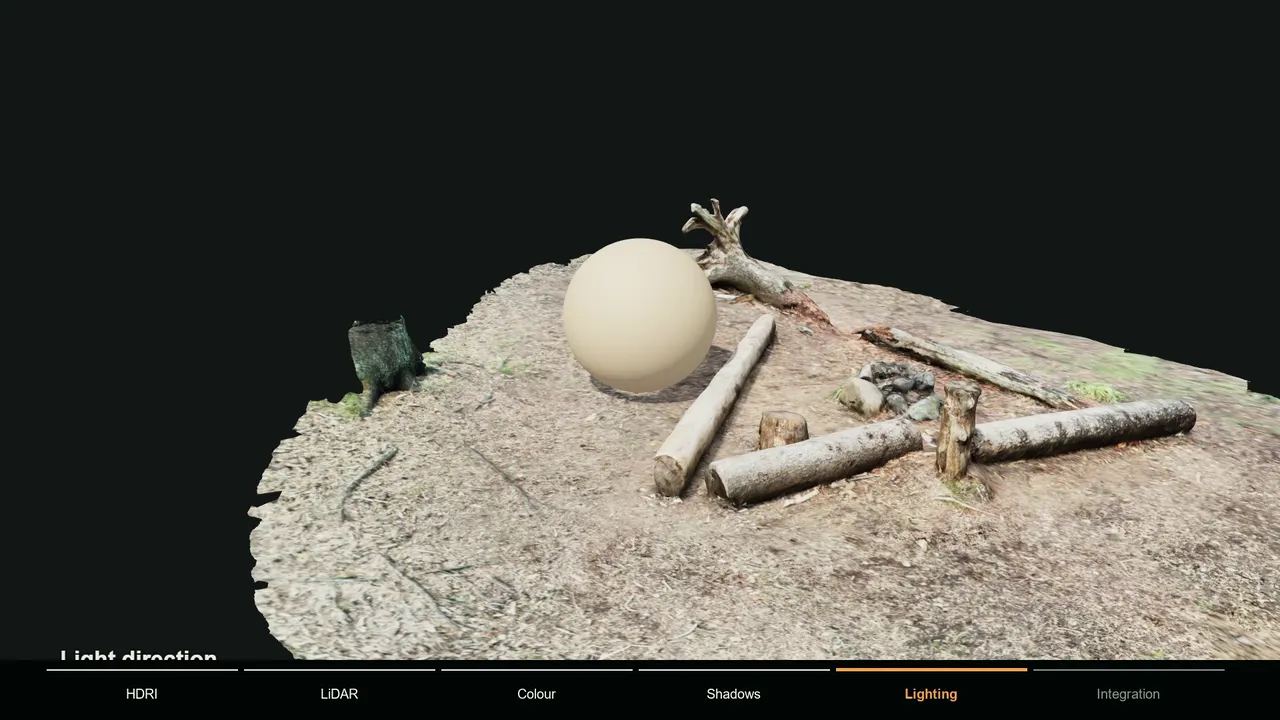
The HDRI already contributes light, but a sun lamp gives you a clear, controllable shadow. Add a Sun, increase its strength while watching the sphere and its shadow, and balance it against the environment.
- Rotation controls the shadow direction. Match it to the shadows already in the footage.
- Angle controls the apparent size of the sun, and with it shadow softness. A larger angle gives softer edges, a smaller angle sharper ones.
- Compare direction, darkness and softness with real shadows in the shot. Softer is not automatically better; matching is.
Step 8: Ground the object and check through the camera
Move the object down until it touches the ground. That contact shadow, right where object meets surface, does more for realism than almost anything else. Then play the shot through the animated camera: the object must stay attached to the scene and its shadow must stay on the surface beneath it for the whole move.
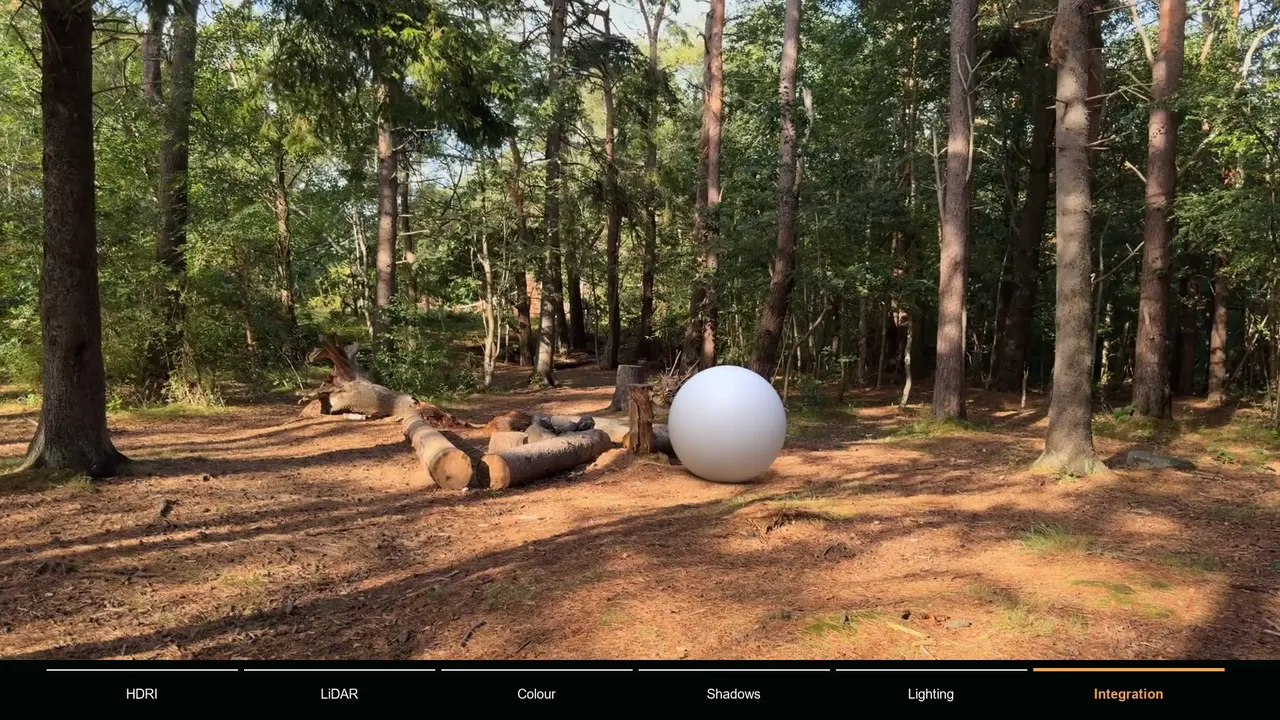
Now replace the test sphere with your real object or character and refine materials and light for the effect you want.
Extra realism: gobos, grain and lens distortion
- Gobos. In a forest the light is broken up by leaves. Put a plane with a leaf texture between the sun and the object, and animate it slightly, to get dappled, moving shadows.
- Grain and blur. Match the noise of the footage and add motion blur to the render so the CG is not cleaner than the plate.
- Lens distortion. Real lenses bend the image; Blender renders a perfect pinhole. MotionMaster 3D can export undistort and redistort STMaps so you can distort the CG to match the plate in compositing.
- Projected footage. For reflective objects, Camera Footage Projection and Multi-Frame Texture Bake in MotionMaster 3D put the real footage onto reconstructed surfaces, so reflections show the actual location.