Camera settings for trackable footage
Automatic camera modes are built to make a nice looking video, not a trackable one. They change exposure, focus, shutter speed and stabilization during the shot, and every change makes features harder to follow. For tracking, set everything manually and keep it fixed:
| Setting | Recommended for tracking | Why |
|---|---|---|
| Frame rate | 24, 25 or 30 fps, constant | Matches your project. Higher frame rates reduce movement between frames but need faster shutters and more light. |
| Shutter speed | About 1/100 to 1/250 s for handheld moves | Keeps corners and texture sharp. The 180 degree rule (1/48 or 1/60 s) is fine only for slow, smooth moves. |
| ISO | As low as the light allows | High ISO adds grain that changes every frame and makes tracks jitter. |
| Exposure | Locked | Exposure changes make the same feature look different between frames. |
| Focus | Locked, with enough depth of field | Focus pulls and heavy bokeh change or remove detail. |
| White balance | Locked | Shifting color changes the feature patterns. |
| Lens | One lens, no zoom, wide or normal | A fixed focal length is easier to solve, and wider lenses give stronger parallax. |
| Stabilization | Off or minimal | Digital stabilization crops and warps the image in ways that do not match a real camera. |
| Codec | ProRes or high-bitrate HEVC | Less compression means fewer blocky artifacts that look like fake detail. |
| Color | Standard Rec.709, or log plus a graded tracking copy | Trackers need contrast. Flat log footage tracks better after a quick grade. |
Shutter speed: why the 180 degree rule is not enough
The 180 degree rule sets the shutter to roughly half the frame interval, so 1/48 s at 24 fps or 1/60 s at 30 fps. It gives natural motion blur, which is exactly the problem: on a handheld walking shot that blur smears the small details a tracker needs.
For tracking shots I start at 1/250 s for walking moves and only go slower when the light forces me to. If the final shot should have cinematic motion blur, you can add it back in the composite after tracking. You cannot remove blur that was recorded into the footage.
ISO and light
A faster shutter lets in less light, so something has to give. The best fix is more light: film in daylight, open up shade with a reflector, or add a light. When that is not possible, raise ISO a little rather than slowing the shutter a lot. Some grain is easier for a tracker than heavy blur, but very high ISO adds noise that dances on every frame.
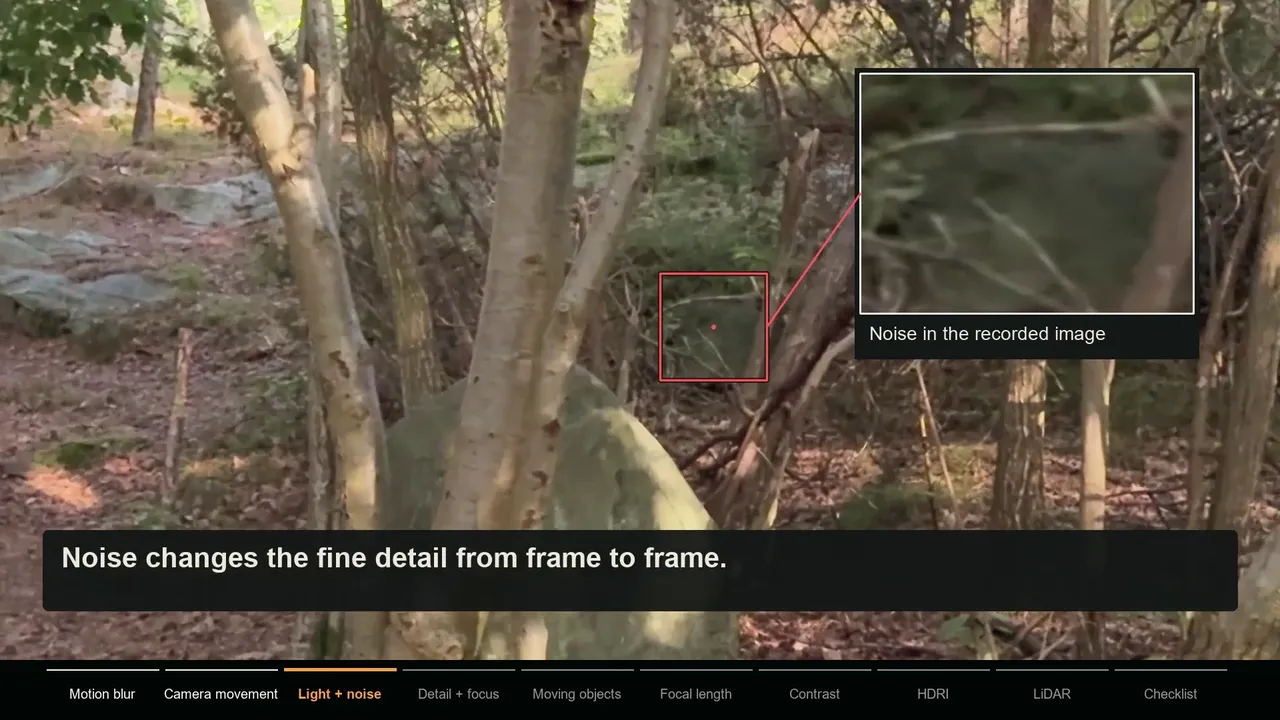
Lock exposure, focus and white balance
If the camera re-exposes during the shot, the same piece of bark suddenly looks darker and the tracker loses it. Lock all three before you press record, and avoid walking from deep shade into bright sun in one move when you can.
Filming on an iPhone with the Blackmagic Camera app
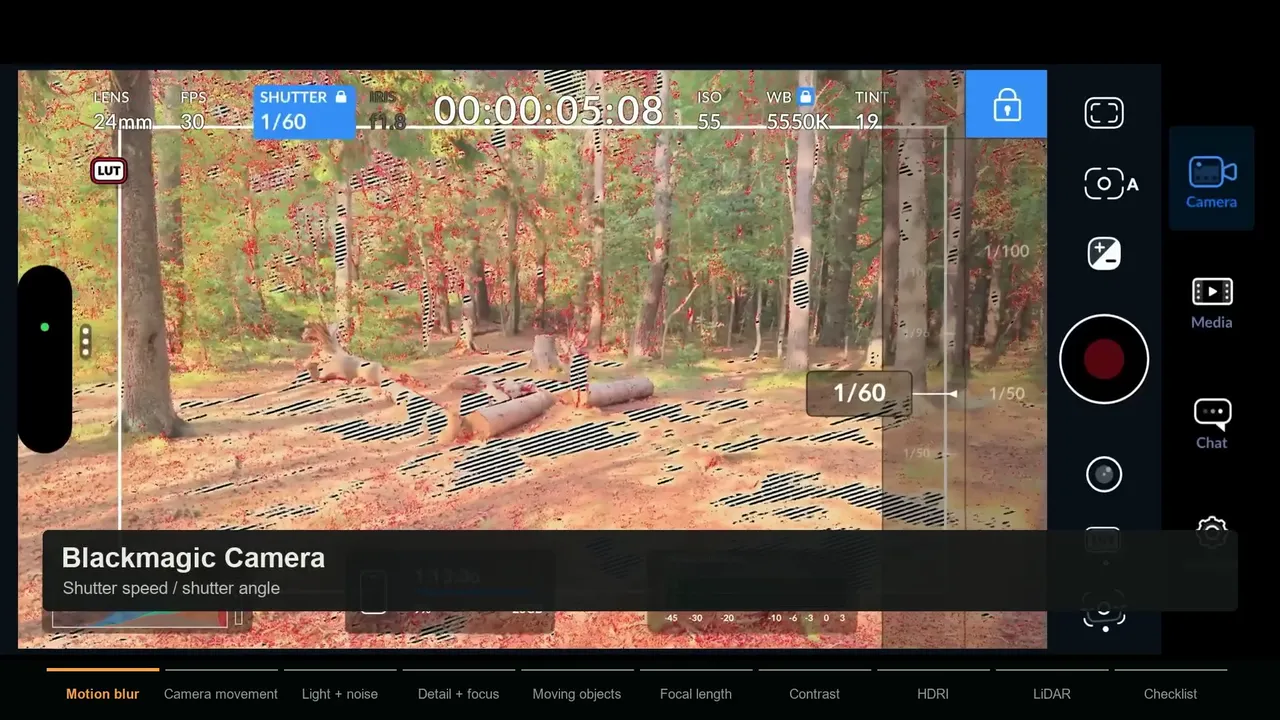
Every test clip in my guides was filmed on an iPhone. The built-in Camera app hides most manual controls, so I use the free Blackmagic Camera app, which gives you shutter, ISO, white balance, focus, frame rate and codec control. My setup for a tracking shot:
- 1 Pick the main lens and stay on it
The main (1x) camera is usually the best choice: it is wide enough for good parallax and has the best sensor. Do not switch lenses or zoom during the shot.
- 2 Set resolution and frame rate
4K at 24, 25 or 30 fps. Keep the frame rate the same as your Blender project so nothing has to be retimed.
- 3 Set the shutter
Use 1/250 s for walking shots as a starting point. The app can show shutter speed or shutter angle; either works as long as it is fixed.
- 4 Bring ISO down
Lower ISO until the image is as clean as the light allows, then check the exposure tools so highlights are not clipped.
- 5 Lock focus and white balance
Focus on the area where your CG object will sit, then lock it. Set a fixed white balance instead of auto.
- 6 Choose the codec
ProRes if your phone and storage allow it, otherwise high-quality HEVC. If you record Apple Log, plan to make a Rec.709 tracking copy.
- 7 Keep stabilization off or minimal
Strong digital stabilization warps the frame. If your phone or app offers a stabilization mode, use the lowest setting for shots you plan to track.
Camera moves that solve, and moves that do not
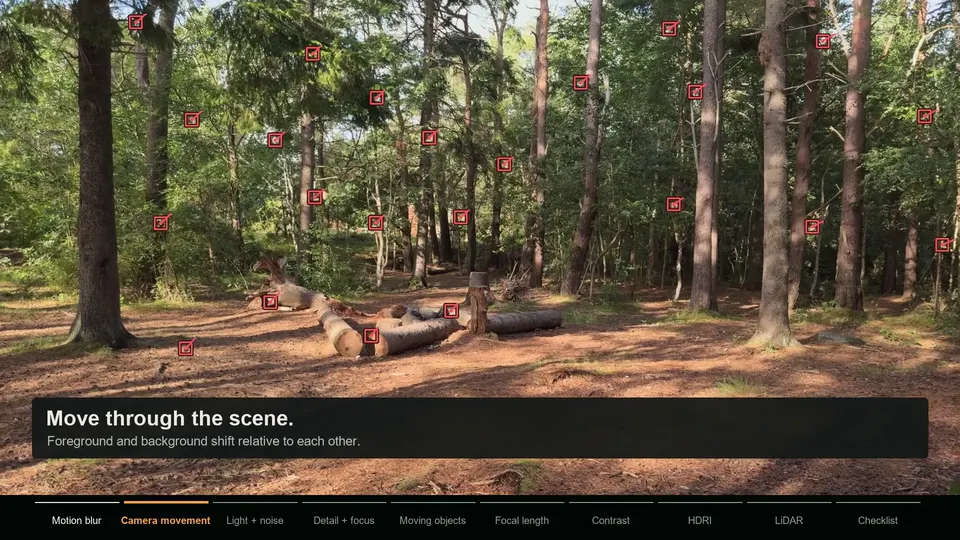
A camera solver measures depth from parallax: near objects must move across the frame faster than far ones. That only happens when the camera physically changes position. Try the different moves here and watch what happens to the depth signal:
 Camera view, tracked features
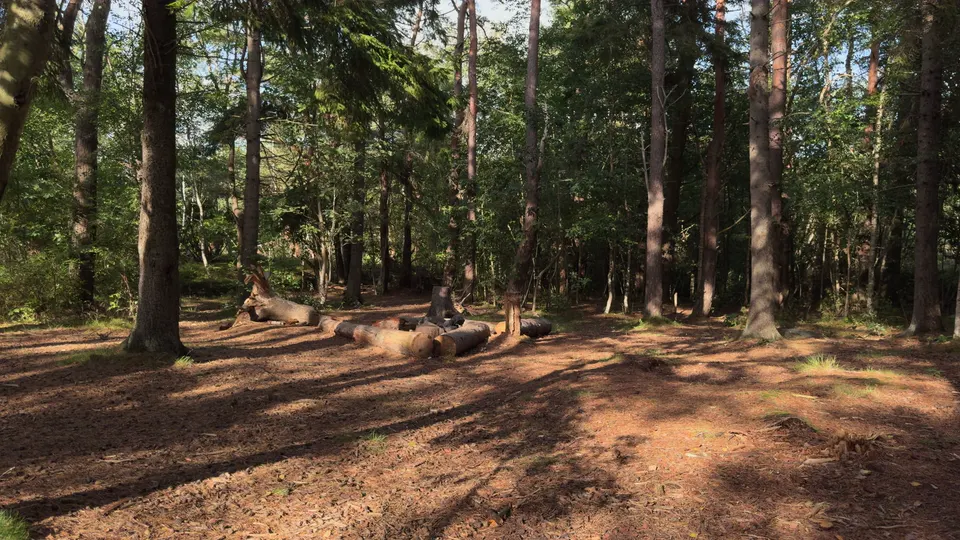
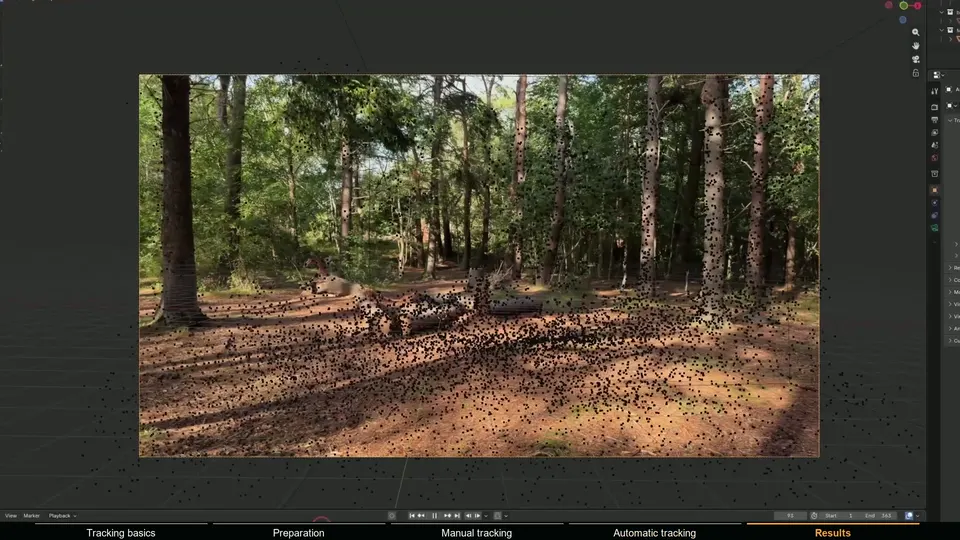
The camera changes position. Near logs and trunks sweep across the frame while distant trees barely move. That difference is parallax, and it is exactly what a camera solver uses to work out depth.
near features far features. The meter measures how much of the track motion one flat image transform cannot explain, which is the part that carries depth.
| Move | Tracking result | Notes |
|---|---|---|
| Walking forward or backward | Solves well | Add a little sideways drift so the move is not straight at a blank surface. |
| Sideways step, slider or truck | Solves very well | The strongest parallax for the least movement. |
| Arc or orbit around a subject | Solves very well | Keep the subject area in frame for the whole move. |
| Crane, jib or drone rise | Solves well | Make sure there is texture on the ground and in the background. |
| Pan or tilt from one spot | Needs a tripod solver | No depth. Use Blender's Tripod option or the Tripod Tracker. |
| Zoom | Needs a variable focal length solve | The focal length changes every frame. Enable zoom solving in Heavy Tracking. |
| Whip pans and sudden jerks | Often fails | Heavy blur and features leave the frame before they can be tracked. |
A few habits help every move: start recording a second before the move and stop a second after it, so the solver has stable frames at both ends. Move smoothly; a gimbal is great because it smooths rotation while you still translate. Keep the area where your CG will go in frame for the whole shot.
What to put in frame
- Texture at several distances. Foreground rocks, mid-ground logs and background trees give the solver depth to work with.
- Static detail across the whole frame, not only in one corner. Trackers spread out give a more stable solve.
- Markers on plain surfaces. If you have to shoot a blank floor or wall, add a few temporary non-reflective markers where you are allowed to.
- Few moving objects. People, cars and leaves in wind are fine if they stay small, but they must be masked before solving.
- Deep enough focus. Very shallow depth of field turns the background into blur with nothing to track.
Capture the extras: HDRI, LiDAR and measurements
These are not needed for the camera track itself, but they decide how good your final composite looks, and they take two minutes while you are already on location.
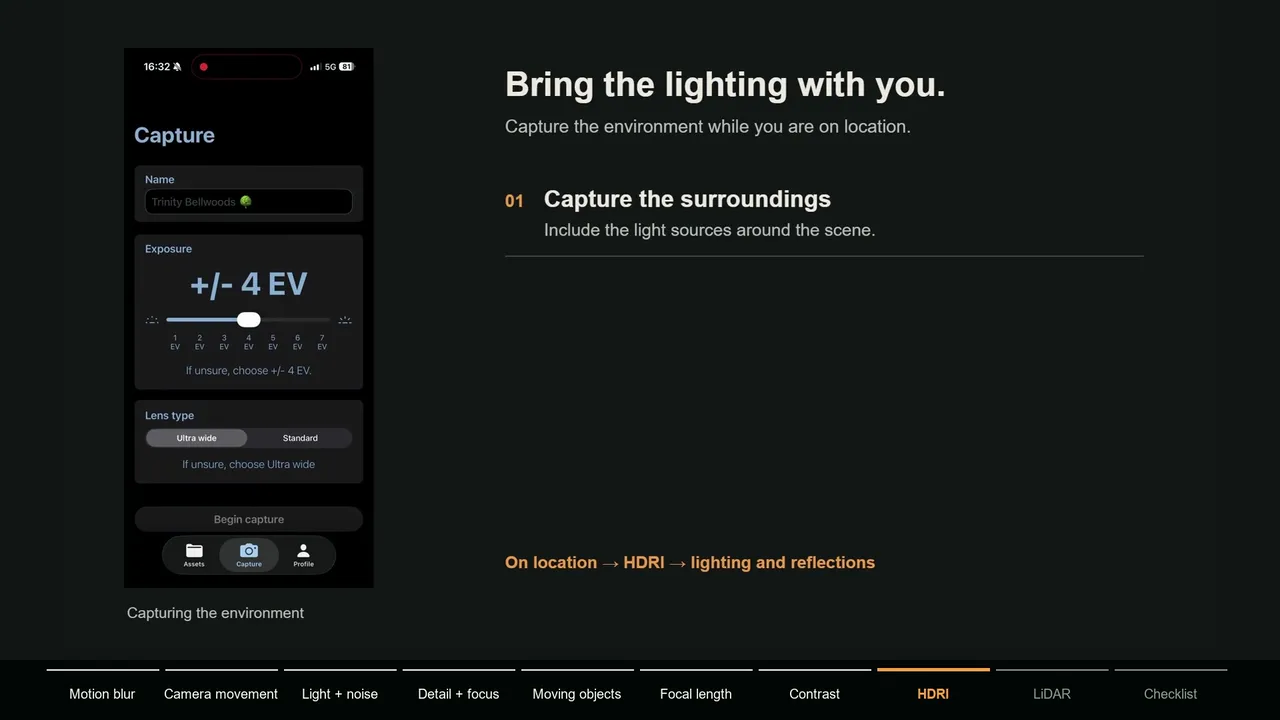
An HDRI of the location
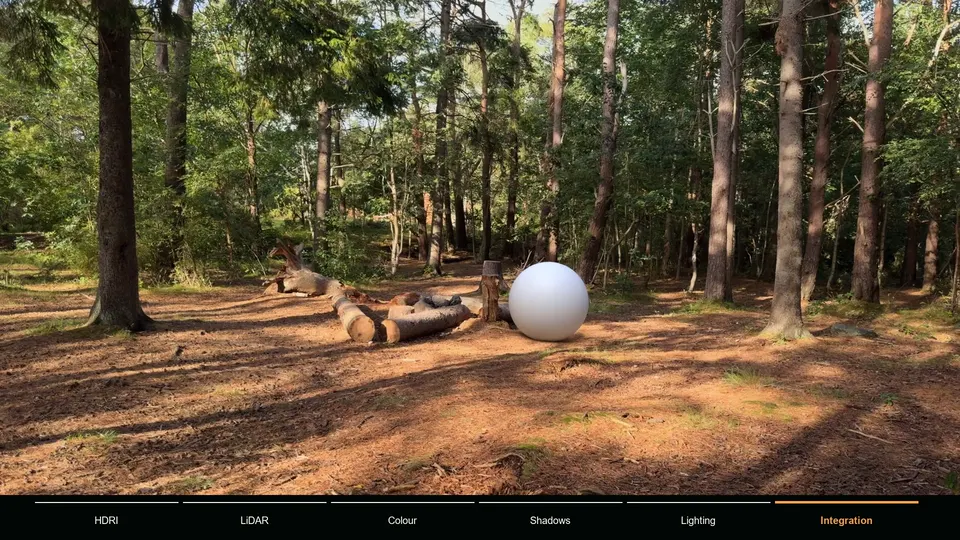
Capture a 360 degree image from roughly where your CG object will sit. A dedicated 360 camera works, and so do phone apps made for HDRI capture. In Blender it becomes the world lighting and the reflections on your object.
A LiDAR scan of the set
If your phone has a LiDAR sensor, scan the area around the effect with an app like Polycam. The scan gives Blender real geometry for the ground, logs and trees, which you can use as a shadow catcher and as something for your object to reflect.
Measurements and notes
Measure one known distance in the scene, such as the length of a log or the distance between two markers, and note the camera height. You will use it to set the scale of the solve. Also note the lens and settings you used.
On-set checklist
- Shutter set manually for the speed of the move (1/100 s or faster handheld).
- ISO as low as the light allows, highlights not clipped.
- Exposure, focus and white balance locked.
- One lens, no zoom, stabilization off or minimal.
- The camera physically moves through space.
- Static texture at several distances, CG area in frame for the whole shot.
- Moving people and cars kept small, or noted for masking.
- Extra frames before and after the move.
- HDRI captured, LiDAR scan recorded if possible, one distance measured.
After the shoot: prepare a tracking copy
Copy the original files off the camera or phone. Avoid sending clips through messaging apps or social platforms, which recompress them. Then make a tracking copy: an image sequence, downscaled to around 1080p for speed, with a quick grade if you shot log. Keep the originals for the final render.
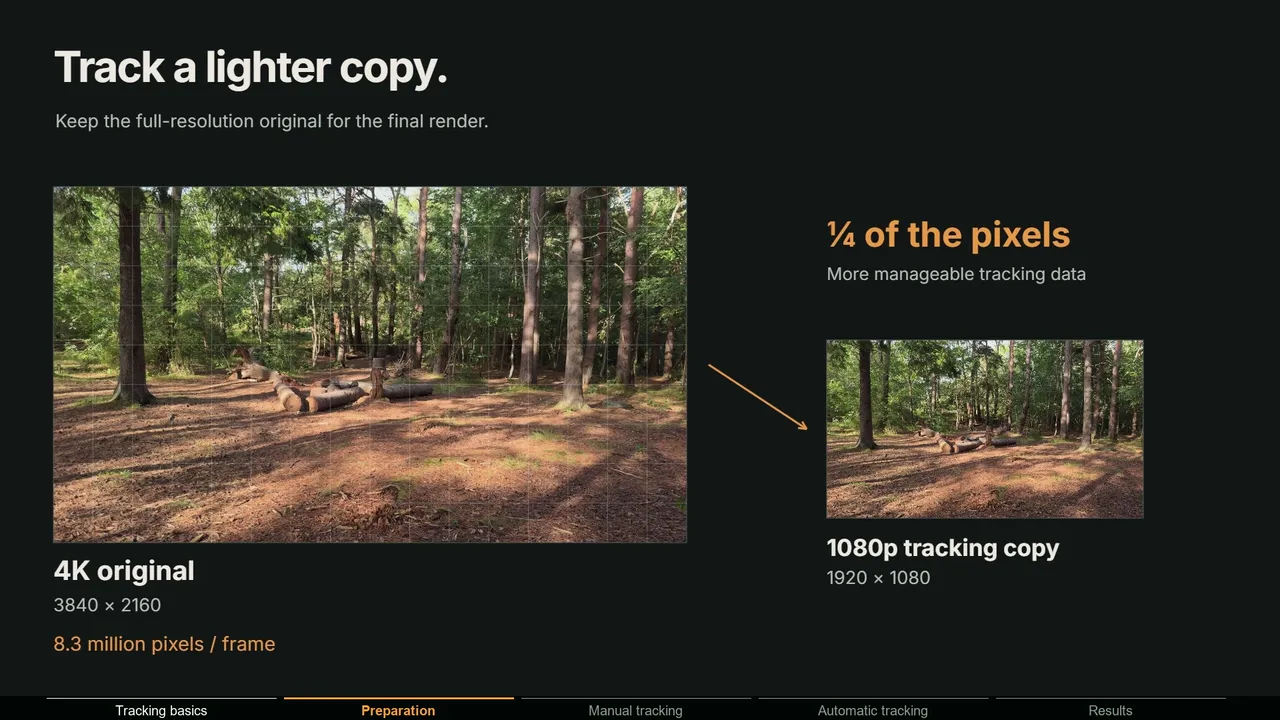
In MotionMaster 3D, Select Footage converts the video to a downscaled image sequence in one step. The full workflow from phone to solved camera is in how to camera track iPhone footage in Blender.