The short answer
Footage that tracks well has five things: real camera translation, sharp frames, stable light, plenty of static texture at different distances, and a lens that behaves the same through the whole shot. Nearly every tracking problem I see in support comes back to one of those five.
| Factor | What helps | What hurts | If it is already shot |
|---|---|---|---|
| Motion blur | Shutter around 1/100 s or faster on handheld moves | Slow shutter on fast moves, whip pans | Track the sharpest section, use a heavier solve preset |
| Camera movement | Walking, dolly, slider, crane or drone moves | Pan or tilt from one fixed spot | Use a tripod (rotation-only) solver |
| Focal length | Wide or normal lens, close to the subject | Long lens from far away | Expect weak depth, add near detail if you can reshoot |
| Zoom | Fixed focal length during the shot | Zooming while recording | Enable variable focal length solving |
| Light | Bright, even light with locked exposure | Exposure jumps, flicker, clipped highlights | Trim the bad section, grade a tracking copy |
| Noise | Low ISO, clean codec | High ISO grain, heavy compression | Denoise or downscale a tracking copy |
| Detail | Corners, cracks and texture at many depths | Blank walls, sky, water, heavy bokeh | Add markers on set, reframe |
| Moving objects | Static environment fills most of the frame | People, cars, leaves, reflections | Mask them before solving |
| Contrast | Rec.709 or graded tracking copy | Flat log footage | Make a graded copy for tracking only |
How a camera tracker reads your footage
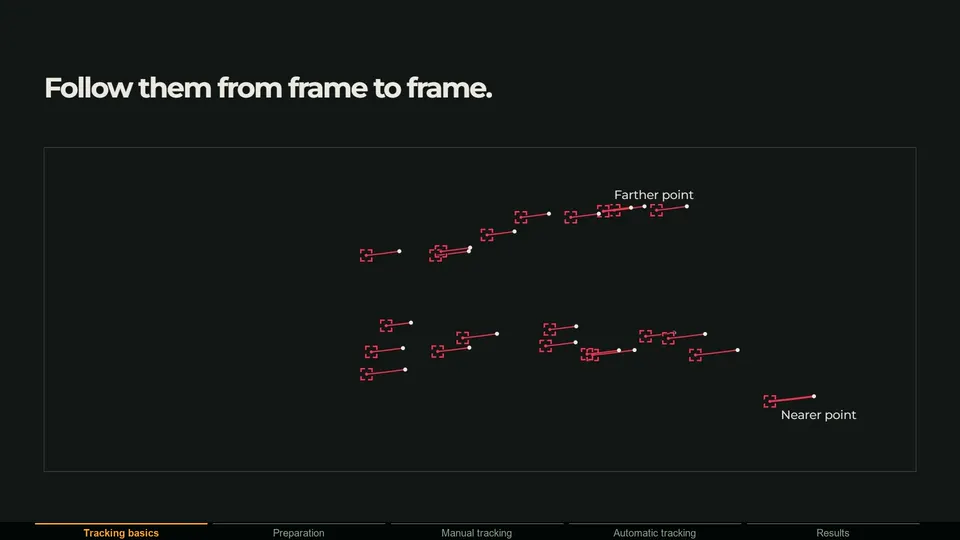
A tracker picks small, recognizable patterns in one frame, such as the corner of a log or a crack in bark, and searches for the same patterns in the next frame. A solver then looks at how all of those 2D tracks move and asks one question: where would a real camera have to be, and how would it have to rotate, for every point to move across the image like this?
That gives you two separate jobs when you film or choose footage. First, features must be easy to follow, which is about sharpness, light, noise and detail. Second, the motion must contain depth information, which is about camera movement, focal length and lens behavior. Moving objects break both, because their tracks describe their own motion instead of the camera's. If you want the deeper version of this, see camera vs planar vs tripod tracking.
1. Motion blur
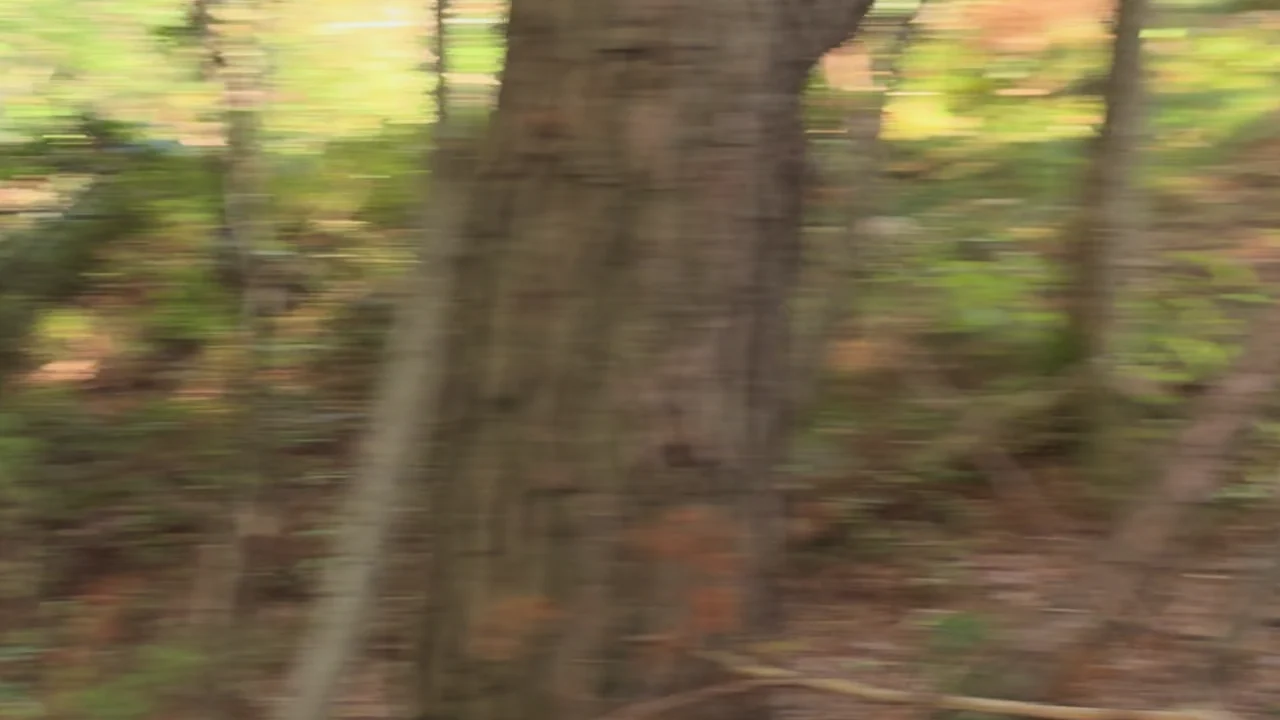
Motion blur smears a feature across the frame during the exposure. Instead of a sharp corner the tracker gets a streak, and the streak changes shape every frame as the camera speed changes. The pattern no longer matches cleanly, so tracks drift, jump or die.
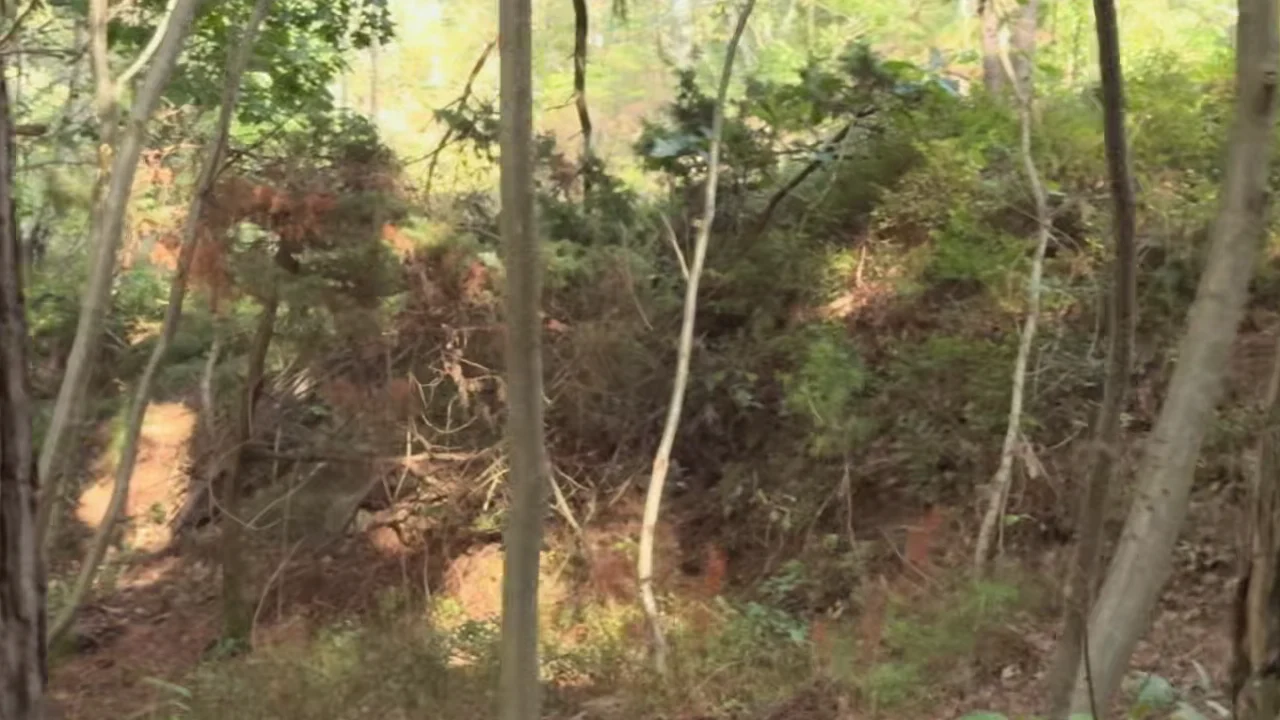
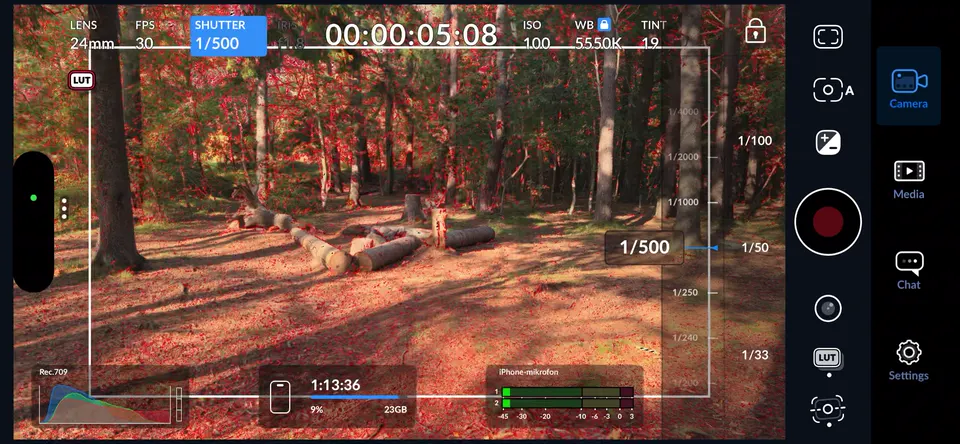
The 180 degree shutter rule says your shutter speed should be about double your frame rate: 1/48 s at 24 fps or 1/60 s at 30 fps. It gives natural looking motion, and for slow, smooth moves it is fine for tracking. For handheld walking shots, drones and anything fast, it leaves too much blur. A shutter between roughly 1/100 s and 1/250 s keeps most handheld moves sharp, and very fast moves can need even more.
The trade-off is light. A faster shutter lets in less light per frame, so you either add light or raise ISO, and raising ISO adds noise. Try the balance yourself:
- Shutter angle
- 180°(180° rule)
- Motion blur
- 12 px
- ISO needed
- 120
Simplified numbers for a 1080p frame in shaded daylight that needs ISO 100 at 1/50 s. Blur is how far a detail smears during one exposure. Faster shutters remove blur but need more light or more ISO, and high ISO adds grain that also changes the detail from frame to frame.
2. Camera movement and parallax
This is the most important factor, and the one most people get wrong. Parallax is what happens when the camera changes position: objects close to the camera sweep across the frame quickly while objects far away barely move. That difference in speed is exactly how a solver works out depth. Without it, it cannot tell a small near object from a large far one.
A pan or tilt from one fixed spot looks like camera movement, but the camera only rotates. Every point moves together, so there is no depth to recover. Switch between the moves below and watch the depth signal:
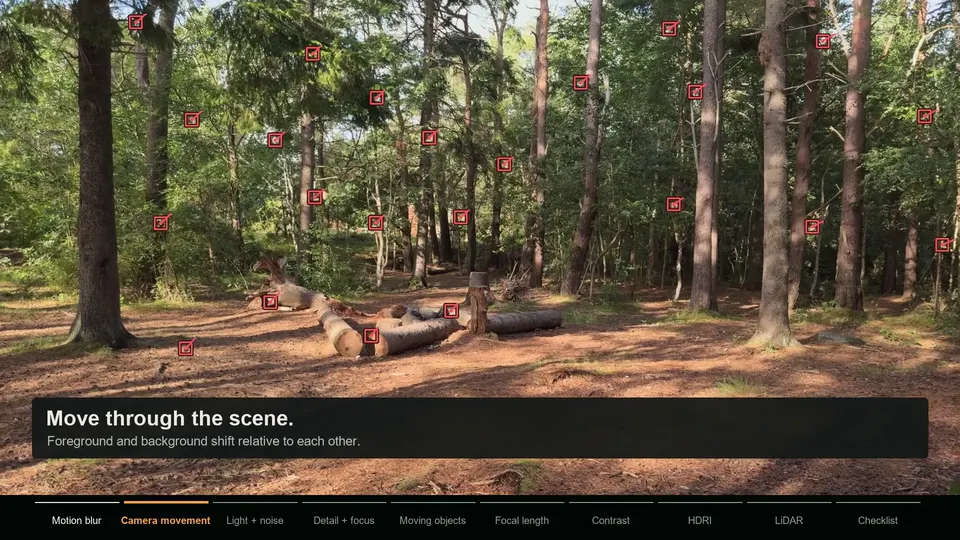 Camera view, tracked features
The camera changes position. Near logs and trunks sweep across the frame while distant trees barely move. That difference is parallax, and it is exactly what a camera solver uses to work out depth.
near features far features. The meter measures how much of the track motion one flat image transform cannot explain, which is the part that carries depth.
The fix is simple when you are filming: physically move the camera. Walk, step sideways, use a slider, a crane or a drone. Even a small sideways move at the start of a shot helps. If the shot is already a pure pan, do not fight a normal solve. Use a rotation-only solver instead: Blender has a Tripod option in the Solve panel, and MotionMaster 3D has a dedicated Tripod Tracker that also estimates the focal length.
3. Focal length and telephoto shots
Long lenses compress depth. When you film from far away with a telephoto lens, everything in view sits at a similar, large distance, so near and far points move almost identically even when the camera itself moves. To a solver the shot looks like a flat picture being zoomed or slid, which is exactly the situation where depth cannot be measured.
A wide or normal lens close to the subject gives much stronger parallax. Phone main cameras are a good default because they are fairly wide. If you need the long-lens look, include something near the camera in frame and make the camera move larger, or accept that the solve will be weaker and lean on known measurements when you set up the scene.
4. Zooming during the shot
A zoom changes the focal length while the camera stays in place, so it adds no parallax at all. It also breaks an assumption most solvers make: that one focal length explains every frame. The solver tries to find a single lens that fits both the wide and the tight frames, cannot, and either fails or produces a camera that slides.
Avoid zooming in shots you plan to track. If the zoom is part of the shot, the solver has to be told. Blender's built-in solver works with one focal length per clip. In MotionMaster 3D, enable Variable Focal Length (Zoom) in Heavy Tracking so frames can use their own camera calibration instead of one shared lens.
5. Light changes
Trackers recognize features by their pixel pattern. When the exposure suddenly drops, the pattern for the same piece of bark looks completely different, and the tracker loses it. The same happens with auto exposure pumping, clouds passing over the sun, flickering LED lights and walking from shade into direct sun.
On set, lock exposure, white balance and focus. A camera app that gives manual control makes this easy on a phone. If the change is already in the footage, trim the clip to the stable part, or create a tracking copy where you even out the exposure with a grade. You still render with the original footage.
6. Noise and ISO
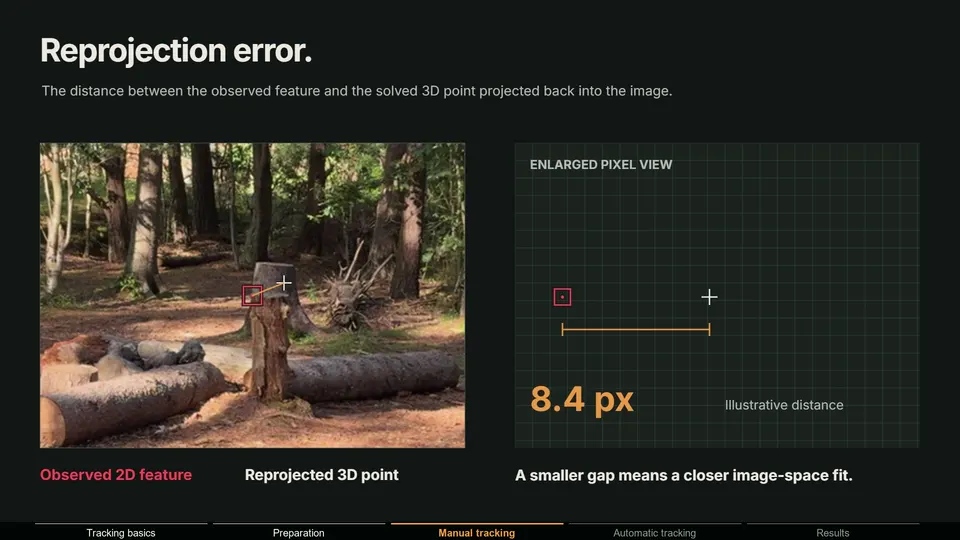
Sensor noise is different in every frame. It adds random fine detail that a tracker can lock onto, then that detail disappears in the next frame. The result is jittery tracks and a solve error that will not go down. High ISO in low light is the usual cause, and heavy compression makes it worse by turning noise into blocks.
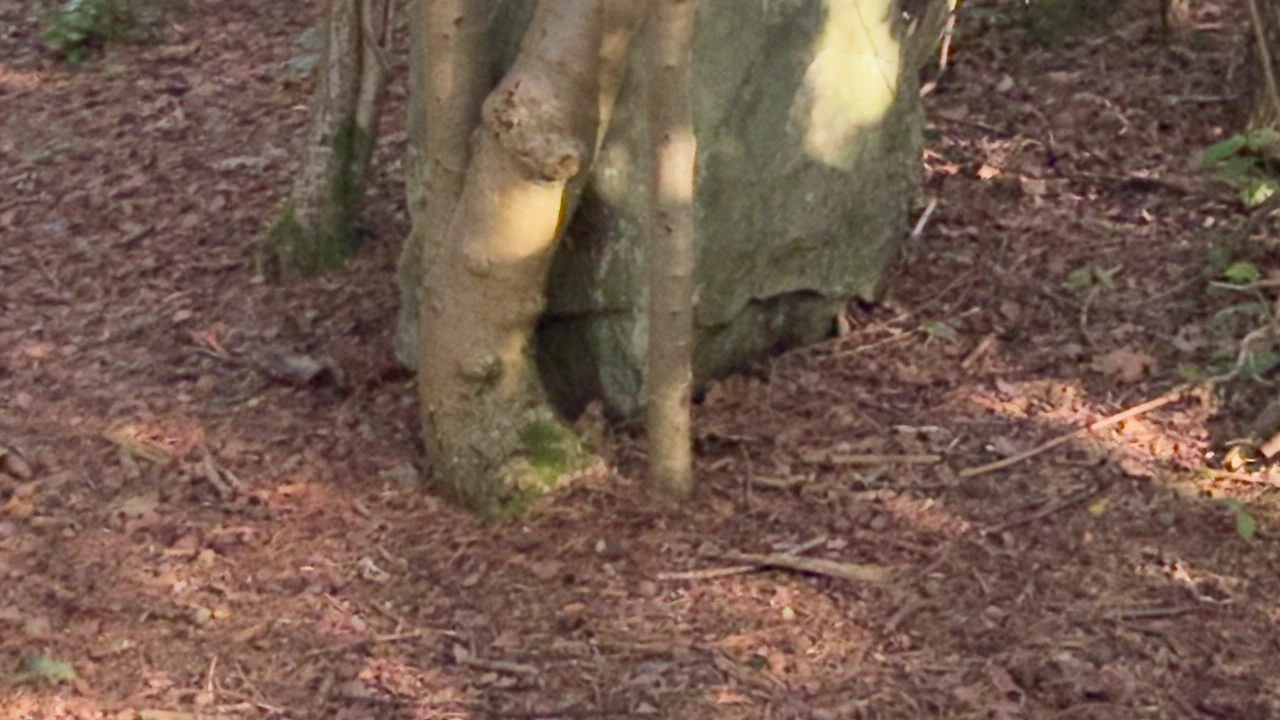
More light is the real fix, because it lets you keep both a fast shutter and a low ISO. If you cannot add light, balance the two: a little more ISO is usually better than a lot of motion blur. For footage that is already noisy, a denoised or downscaled tracking copy helps, because downscaling averages neighboring pixels and reduces visible grain.
7. Trackable detail and contrast
Trackers love high-contrast corners, texture, cracks, bark, gravel, signs and edges. They hate large smooth surfaces. A white wall, an empty sky, water, glass, glossy car paint and smoke all give a tracker nothing stable to hold on to. Very shallow depth of field and heavy bokeh remove detail the same way, and focus pulls change features during the shot.
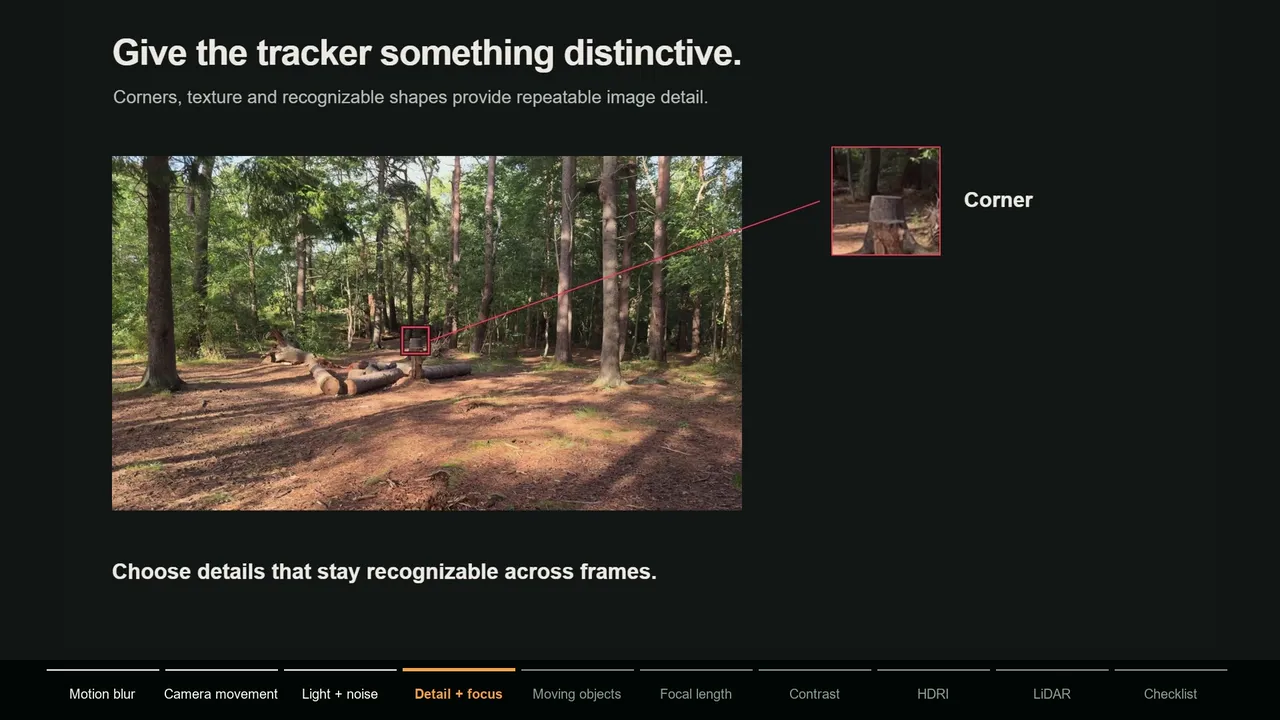
Try to have detail at several distances: foreground, middle ground and background. If you shoot on a plain surface, temporary non-reflective markers help. Strong lens flares and reflections create features that move on their own, so frame them out or mask them.
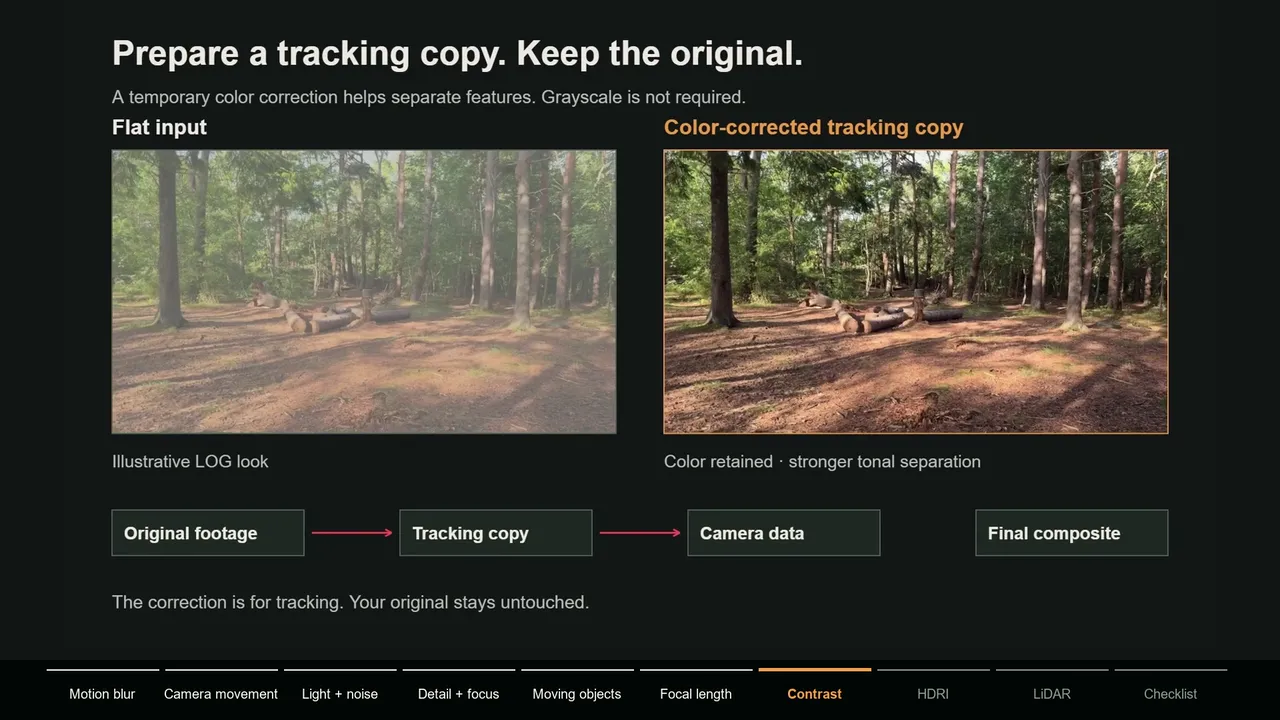
If you record flat log footage, you can still track it. Make a tracking copy with a quick Rec.709 conversion or contrast grade so features stand out, track that, and keep the original log footage for the final render and grade.
8. Moving objects
A camera solver assumes everything it tracks belongs to one rigid scene. A person walking through the frame, a passing car, trees blowing in the wind or a reflection on a window all move on their own. Tracks on them describe their motion, not the camera's, and they pull the solve in the wrong direction.
Small moving objects over a strong static background are usually fine once they are masked out. The trouble starts when moving things cover most of the frame or most of the useful detail. In Blender you remove or disable the tracks that land on moving objects by hand. MotionMaster 3D can create an AI mask with SAM 2 from a single click on the object and carry it through the clip, so Heavy Tracking ignores those regions. I go deeper in why moving objects break camera tracks and how masks improve camera tracking.
9. Resolution, compression and frame extraction
Resolution helps less than people expect. A clean 1080p clip often tracks better than a noisy, heavily compressed 4K clip, and it tracks much faster. What matters is usable detail. Work from the original file instead of a download from social media, convert the video to an image sequence so every frame is decoded the same way, and keep every frame for the final solve.
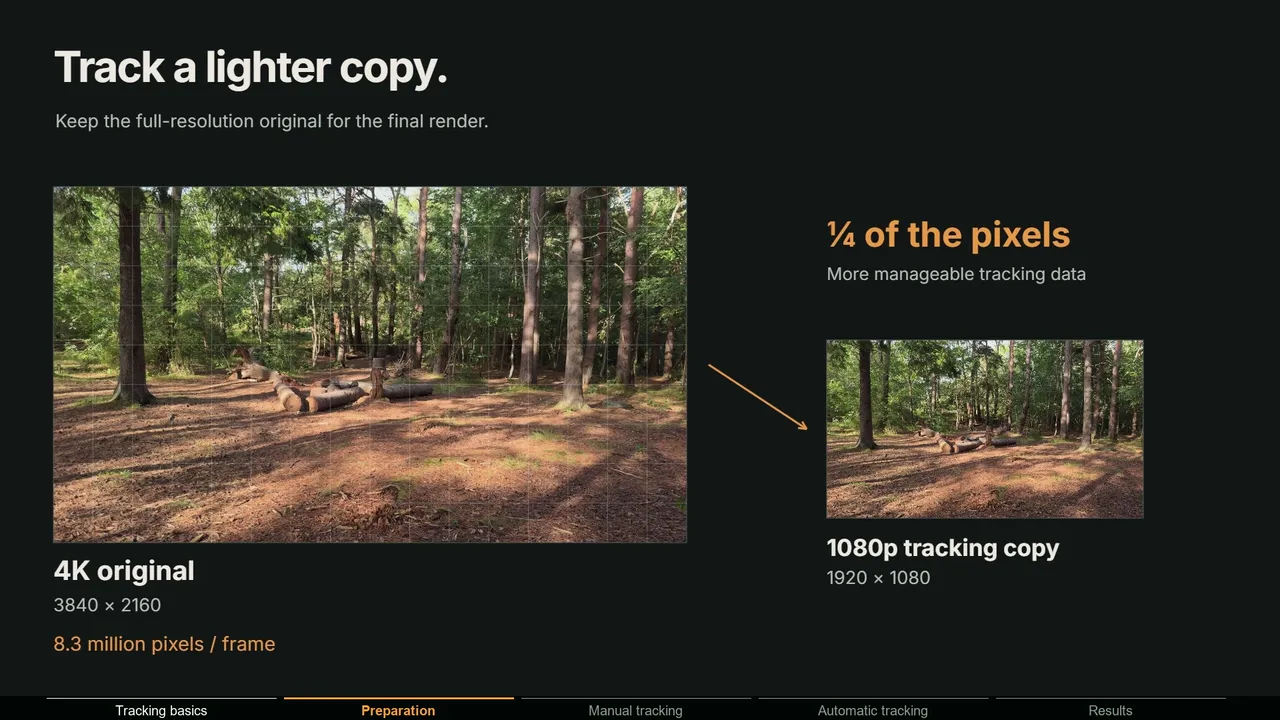
MotionMaster 3D does the conversion and downscaling in one step in Select Footage, and keeps the original footage untouched.
The footage checklist
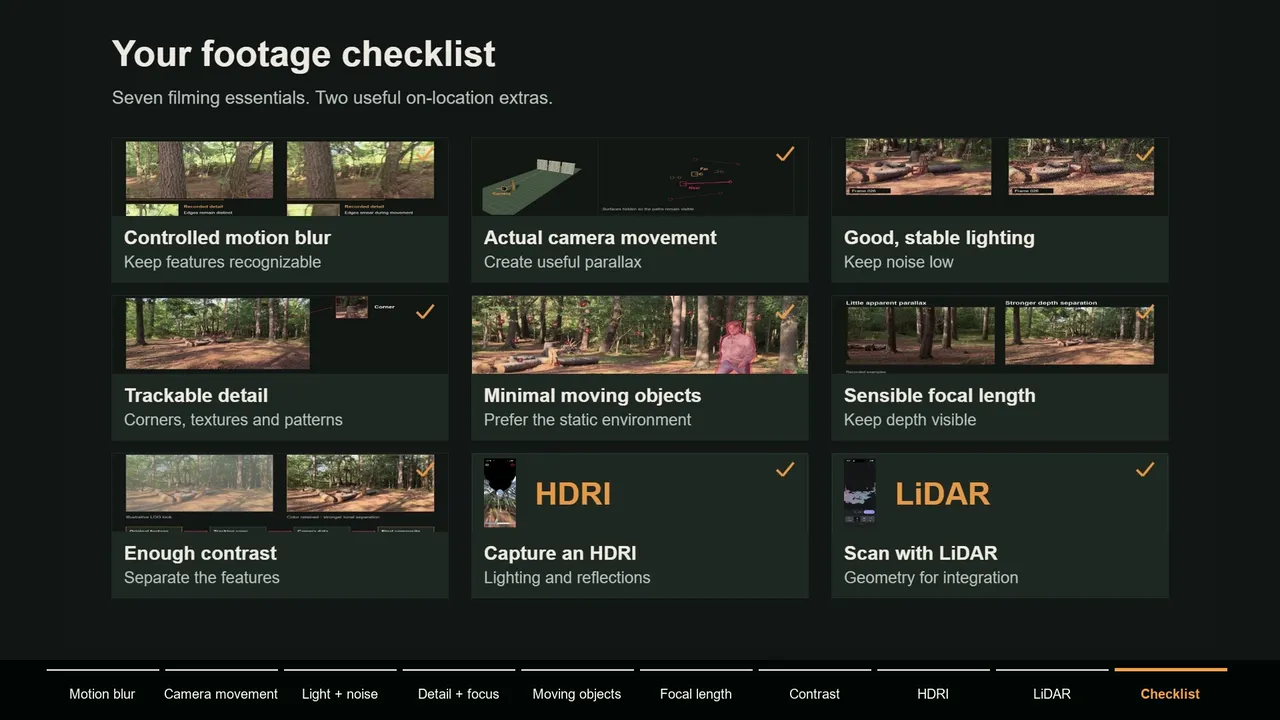
Before you film, or before you commit to a stock clip, run through this list:
- Controlled motion blur: shutter fast enough for the speed of the move.
- Real camera movement, not only a pan, tilt or zoom.
- Good, stable lighting with exposure, white balance and focus locked.
- Plenty of trackable detail at different distances.
- Few moving objects, or a plan to mask them.
- A sensible focal length: wide or normal, close to the subject.
- Enough contrast, or a graded tracking copy for flat log footage.
- Optional but valuable: an HDRI of the location and a LiDAR scan of the set for the composite.
When to reshoot and when software can save the shot
If you follow every rule above, most footage starts to look like bad tracking footage. With a traditional workflow that is partly true. You place trackers by hand, delete the ones that slip, mask moving objects, solve, adjust and solve again, and a difficult shot can take hours.
I built MotionMaster 3D to remove most of that work. A shot with some motion blur, difficult light or a few moving objects is not automatically unusable: Heavy Tracking runs an automatic COLMAP and GLOMAP based solve with presets for harder footage, AI masks handle moving objects, and batch processing tracks many clips while you do something else. But software cannot invent information the camera never captured. Reshoot when:
- The shot is only a pan and you need real 3D placement with depth.
- Every frame is heavily blurred, warped or noisy.
- The only visible features belong to moving people, cars, water or reflections.
- You need a dense point cloud or mesh, but the footage has no depth variation.