What the solve error actually measures
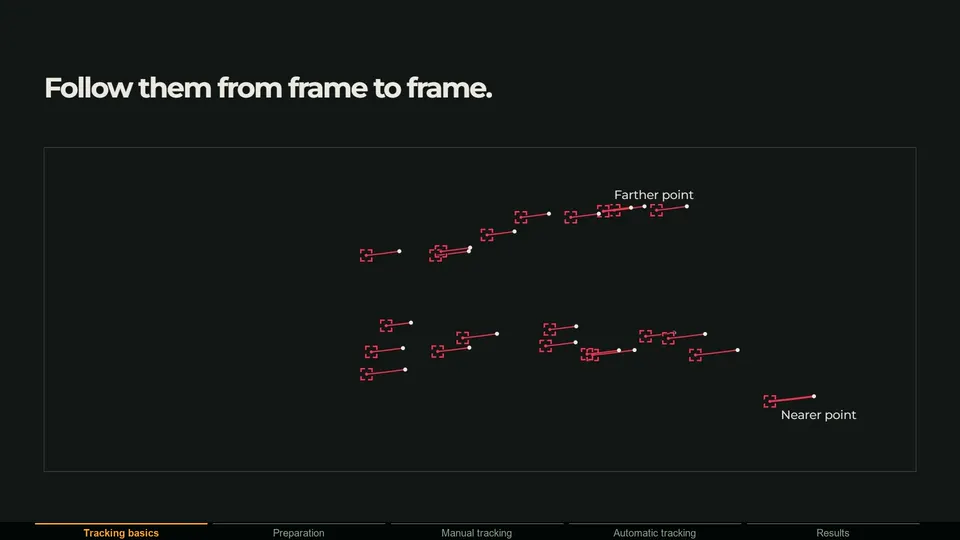
When Blender solves a camera, it estimates two things at once: the camera's position and rotation on every frame, and a 3D position for every track. It then projects each 3D point back into the image through the solved camera and compares it with where the track actually was. The distance between the two, in pixels, is the reprojection error. The solve error in the Movie Clip Editor header is the average of those distances.
Play with the demo below. Tracks on a walking person and an unsolved lens both push the average up, and cleaning up the worst tracks brings it down:
Circles are the 2D features the tracker followed. Crosses are where the solved 3D points land when they are projected back through the solved camera. The distance between them is the reprojection error, drawn here 9 times larger so it is visible. The solve error Blender reports is the average over all tracks.
What is a good solve error in Blender?
| Solve error | What it means | What to do |
|---|---|---|
| Below 0.3 px | Accurate reprojection, according to the Blender manual | Check it visually, then move on |
| 0.3 to 1 px | Good for most VFX work | Check close-up areas where CG touches the ground |
| 1 to 3 px | Usable, but things may slide | Look for bad tracks and lens problems |
| Above 3 px | Something is wrong | Work through the fixes below |
Fix 1: Remove the bad tracks
This is the fix that works most often. A handful of tracks that slide, jump between features or die halfway through can drag the whole solve with them, and they raise the error of every good track too. Find them and remove them:
- After solving, look at the average error of each track. In the Clip Editor's dopesheet view you can sort tracks by average error, so the worst ones are at the top.
- Use Clean Up in the Track menu to select or delete tracks that are too short or whose error is above a threshold. Start around 3 px and tighten it as the solve improves.
- Use Filter Tracks to find tracks with sudden jumps in movement.
- Delete or disable the bad tracks, solve again and compare.
Do not delete so many that you drop below 8 tracks shared by both keyframes, or Blender will refuse to solve. Replace the bad tracks with new ones in good areas instead.
Fix 2: Get tracks off moving objects
The solver assumes that every track belongs to one rigid scene. Tracks on people, cars, leaves moving in the wind, water or reflections follow their own motion, and the solver cannot explain them with the camera move. The Blender manual warns that Detect Features can place markers on moving objects, so check every automatically detected track.
Delete or disable those tracks, and avoid placing new ones on anything that moves. MotionMaster 3D handles this with AI masks: you click the moving object once, the mask is carried through the clip, and Heavy Tracking ignores that region. More in why moving objects break camera tracks.
Fix 3: Enter the right camera data
The solver needs to know the focal length and sensor width. If they are far off, the solver cannot find a camera that fits all tracks, and the error goes up, or the solve comes out stretched. Enter the real values in the Track tab's Camera panel. If you only know the full-frame equivalent focal length, use a 36 mm sensor width with that value as a starting point.
Then enable Refine for the focal length and solve again. Refinement only works when the starting values are roughly right, so it cannot rescue a guess that is far off.
Fix 4: Solve the lens distortion
Wide lenses, phones and action cameras bend straight lines, especially toward the edges of the frame. If the solver assumes a perfect pinhole camera, tracks near the edges will never line up and the error stays high even with clean tracks. In Blender, refine the radial distortion coefficients (K1, K2) together with the focal length once the solve is otherwise reasonable.
MotionMaster 3D solves the lens as part of Heavy Tracking with a choice of 12 COLMAP camera models, and can export the solved calibration plus undistort and redistort STMaps for compositing. See lens calibration and STMaps.
Fix 5: Choose keyframes with parallax
Blender starts the solve from two keyframes, A and B. They need clear camera movement between them and at least 8 tracks visible on both. If the keyframes are too close together, there is not enough parallax to start a good reconstruction, and you may see the message that at least 8 common tracks on both keyframes are needed. Let Blender pick them with the Keyframe option, or choose two frames yourself that are far enough apart for near and far objects to have shifted clearly.
Fix 6: Use the tripod solver for rotation-only shots
If the camera only pans or tilts from one spot, there is no parallax and a normal camera solve has nothing to build depth from. Enable Tripod in the Solve panel; the manual recommends around 5 to 10 tracks. The MotionMaster 3D Tripod Tracker solves these shots automatically and estimates the focal length too. Not sure which kind of shot you have? See camera vs planar vs tripod tracking.
Fix 7: Do not solve a zoom as a fixed lens
Blender's camera solver uses one focal length for the whole clip. If the footage zooms, no single focal length fits every frame and the error climbs. Cut the zoom out of the range you solve, or use a solver that supports changing focal length: MotionMaster 3D Heavy Tracking has a Variable Focal Length (Zoom) option, and the Tripod Tracker can solve zooming pans.
Fix 8: Add more, better spread tracks
A solve built on tracks that all sit in one corner, or all at one distance, is fragile. Spread tracks over the whole frame and over different depths: foreground, middle ground and background. Long tracks that survive many frames are worth more than many short ones.
Fix 9: Improve the footage you track
Some errors come straight from the footage: motion blur smears features, high ISO noise makes tracks jitter, exposure changes make features disappear and rolling shutter bends the image on fast moves. You cannot fix all of that after the fact, but a cleaner tracking copy helps. Grade flat log footage for contrast, denoise noisy clips and track the sharpest section of the shot. The full list is in what makes footage good for camera tracking.
When the error is low but the object still slides
- Few tracks near the object. The solve can be accurate on the background and loose where the object sits. Add tracks on the ground around it.
- Wrong focal length that still fits. Some shots can be explained by several focal lengths. Use the real lens value if you know it.
- Scale and orientation not set. An unaligned scene makes objects look like they float. Set the floor, origin and scale.
- The object is not on a tracked surface. Place it where reconstructed points show the real ground is, not on Blender's default grid.
- Distortion in the footage but not in the render. Undistort the plate or redistort the CG, otherwise edges drift apart.
The automatic route
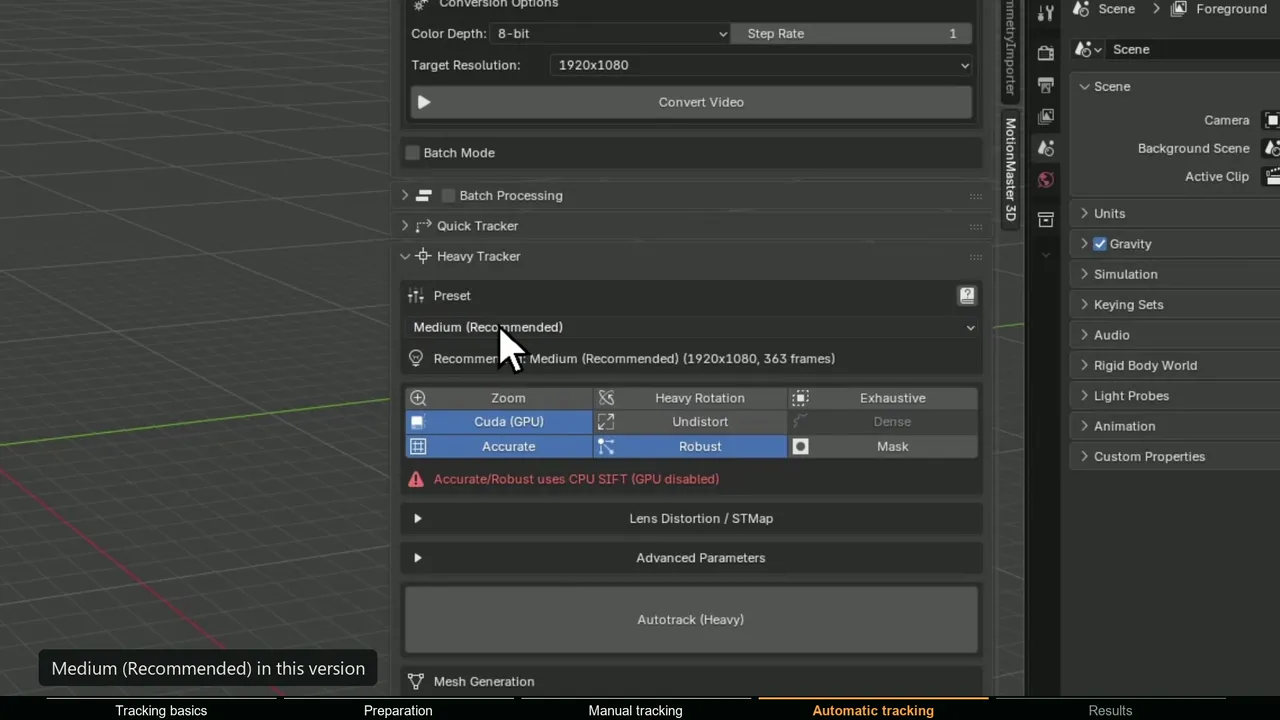
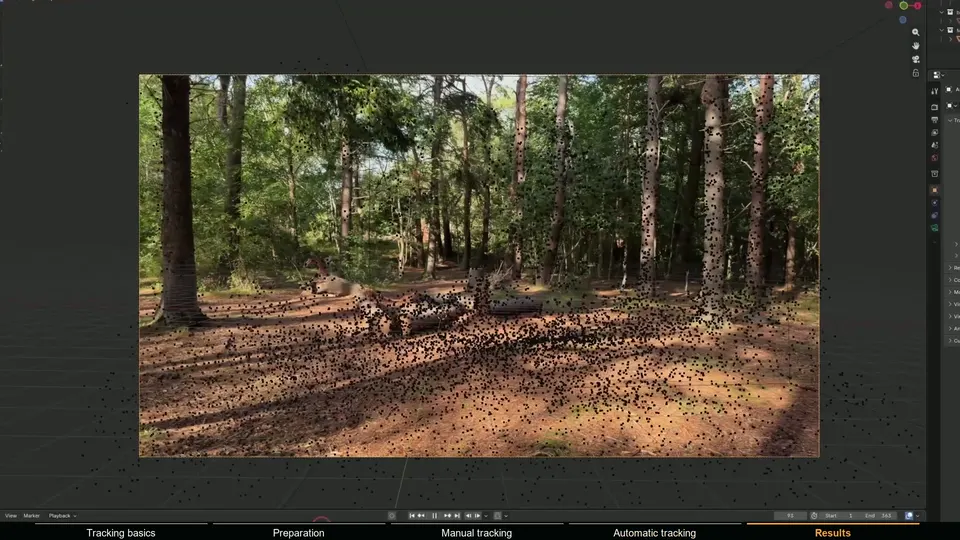
Everything above is the manual loop: track, clean, solve, refine, repeat. It works, and it teaches you a lot, but on difficult footage it can take hours. MotionMaster 3D's Heavy Tracking replaces that loop. It extracts and matches thousands of features across the sequence with a COLMAP and GLOMAP based pipeline, verifies every match geometrically so outliers are filtered automatically, solves the lens and camera together, and imports the result into Blender. Presets range from fast to heavy for difficult shots.