What a tracking mask actually does
In compositing, a mask decides which part of an image is visible. In tracking, it decides which part of the image the solver may learn from. Features inside the excluded region are ignored, so a person crossing the frame no longer adds tracks that contradict the static scene.
In MotionMaster 3D masks are black and white images, one per frame. Heavy Tracking can use them in two directions: track the black, unmasked background to ignore the masked objects, which is what you want for a normal camera solve, or track the white, masked region to follow one object, which is the starting point for object tracking.
When you need a mask
- People, cars or animals move through the frame.
- Trees, grass or flags move in the wind.
- Water, smoke or fog is visible.
- Reflective surfaces like windows, cars or screens show moving reflections.
- Your own shadow or a lens flare moves across the image.
- You want to track one object instead of the camera.
If none of these apply, you probably do not need a mask, and adding one only removes useful features. The reasons behind the list are explained in why moving objects break camera tracks.
Masking in Blender's built-in tracker
With Blender's manual workflow you deal with moving regions track by track: you avoid placing markers on them and delete or disable any track that lands on them, including tracks Detect Features placed automatically. That is manageable for a small object in a few frames, and slow for a person who crosses the whole shot.
AI masks with SAM 2 in MotionMaster 3D
MotionMaster 3D builds masks with SAM 2, Meta's video segmentation model. You point at an object once and it follows that object through the clip as it moves and changes shape.
- 1 Select the footage
Choose the image sequence you will track.
- 2 Add a SAM2 layer
Add one AI mask layer per object you want to exclude, for example one for a person and one for a car.
- 3 Click the object and confirm
Click the object in the viewer and confirm the selection. MotionMaster 3D generates the mask for every frame of the sequence.
- 4 Choose the model size
The Tiny model is fast and fine for clear subjects. Larger models follow difficult shapes more accurately at a higher processing cost.
- 5 Compose and connect
Enabled layers are combined into one composed mask sequence, which connects to Heavy Tracking when you enable Use Mask.
Polygon masks for simple shapes and fixes
Not everything needs AI. Animatable polygon masks are drawn by hand and keyframed, and they interpolate between keyframes. Use them when:
- The shape is simple, like a window, a screen, a patch of sky or a puddle.
- The AI mask misses part of the object for a few frames and needs a correction.
- You want exact, predictable control over the masked area.
Because all enabled layers are composed into one mask sequence, you can mix them freely: an AI layer for the person, a polygon layer for the shop window behind them.
Mask tips that make a real difference
- Make masks a little larger than the object. Motion blur and soft edges extend past the visible outline, and features right on the edge are unreliable anyway.
- Include shadows and reflections. A person's shadow on the ground moves with them and fools the solver just as much.
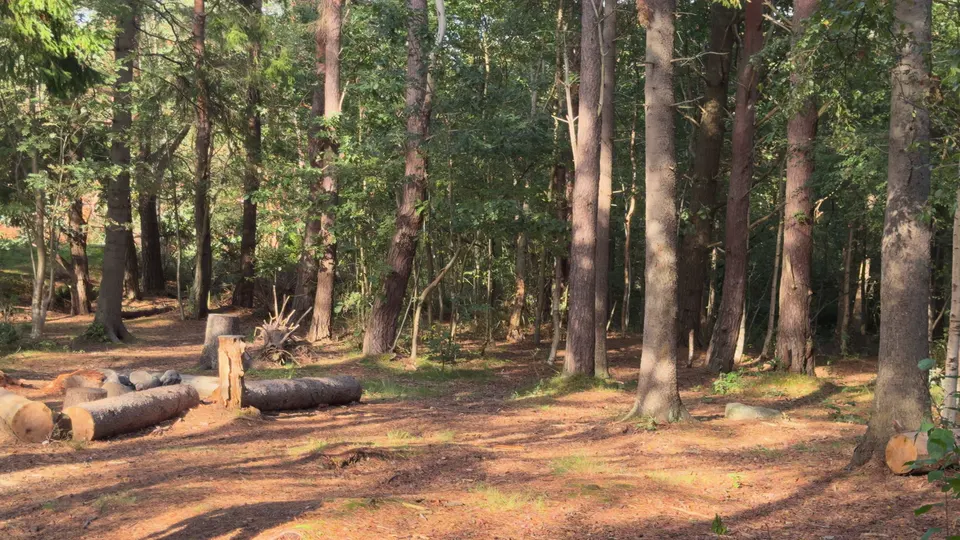
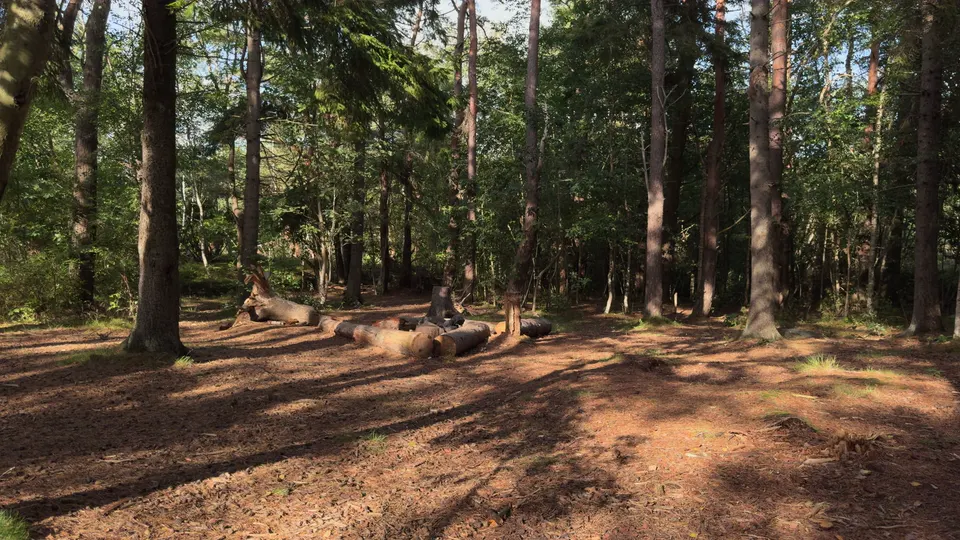
- Mask the canopy, keep the trunks. In a forest, trunks and the ground are excellent features; the leaves above them are not.
- Do not over-mask. The solver still needs plenty of static detail spread across the frame and at different depths. If the mask covers most of the image, the shot may need a reshoot.
- Check the fast frames. Look at the mask on frames where the object moves fastest or is partly hidden, because that is where masks fail first.
Inverting the idea: masks for object tracking
The same mask can do the opposite job. Track the white, masked region instead of the background, and the solver follows the object rather than the scene. With the camera fixed, MotionMaster 3D's Camera Inversion converts that solved camera motion into object motion, so the object moves in Blender and the camera stays still. This works for rigid objects such as boxes, props and vehicles.